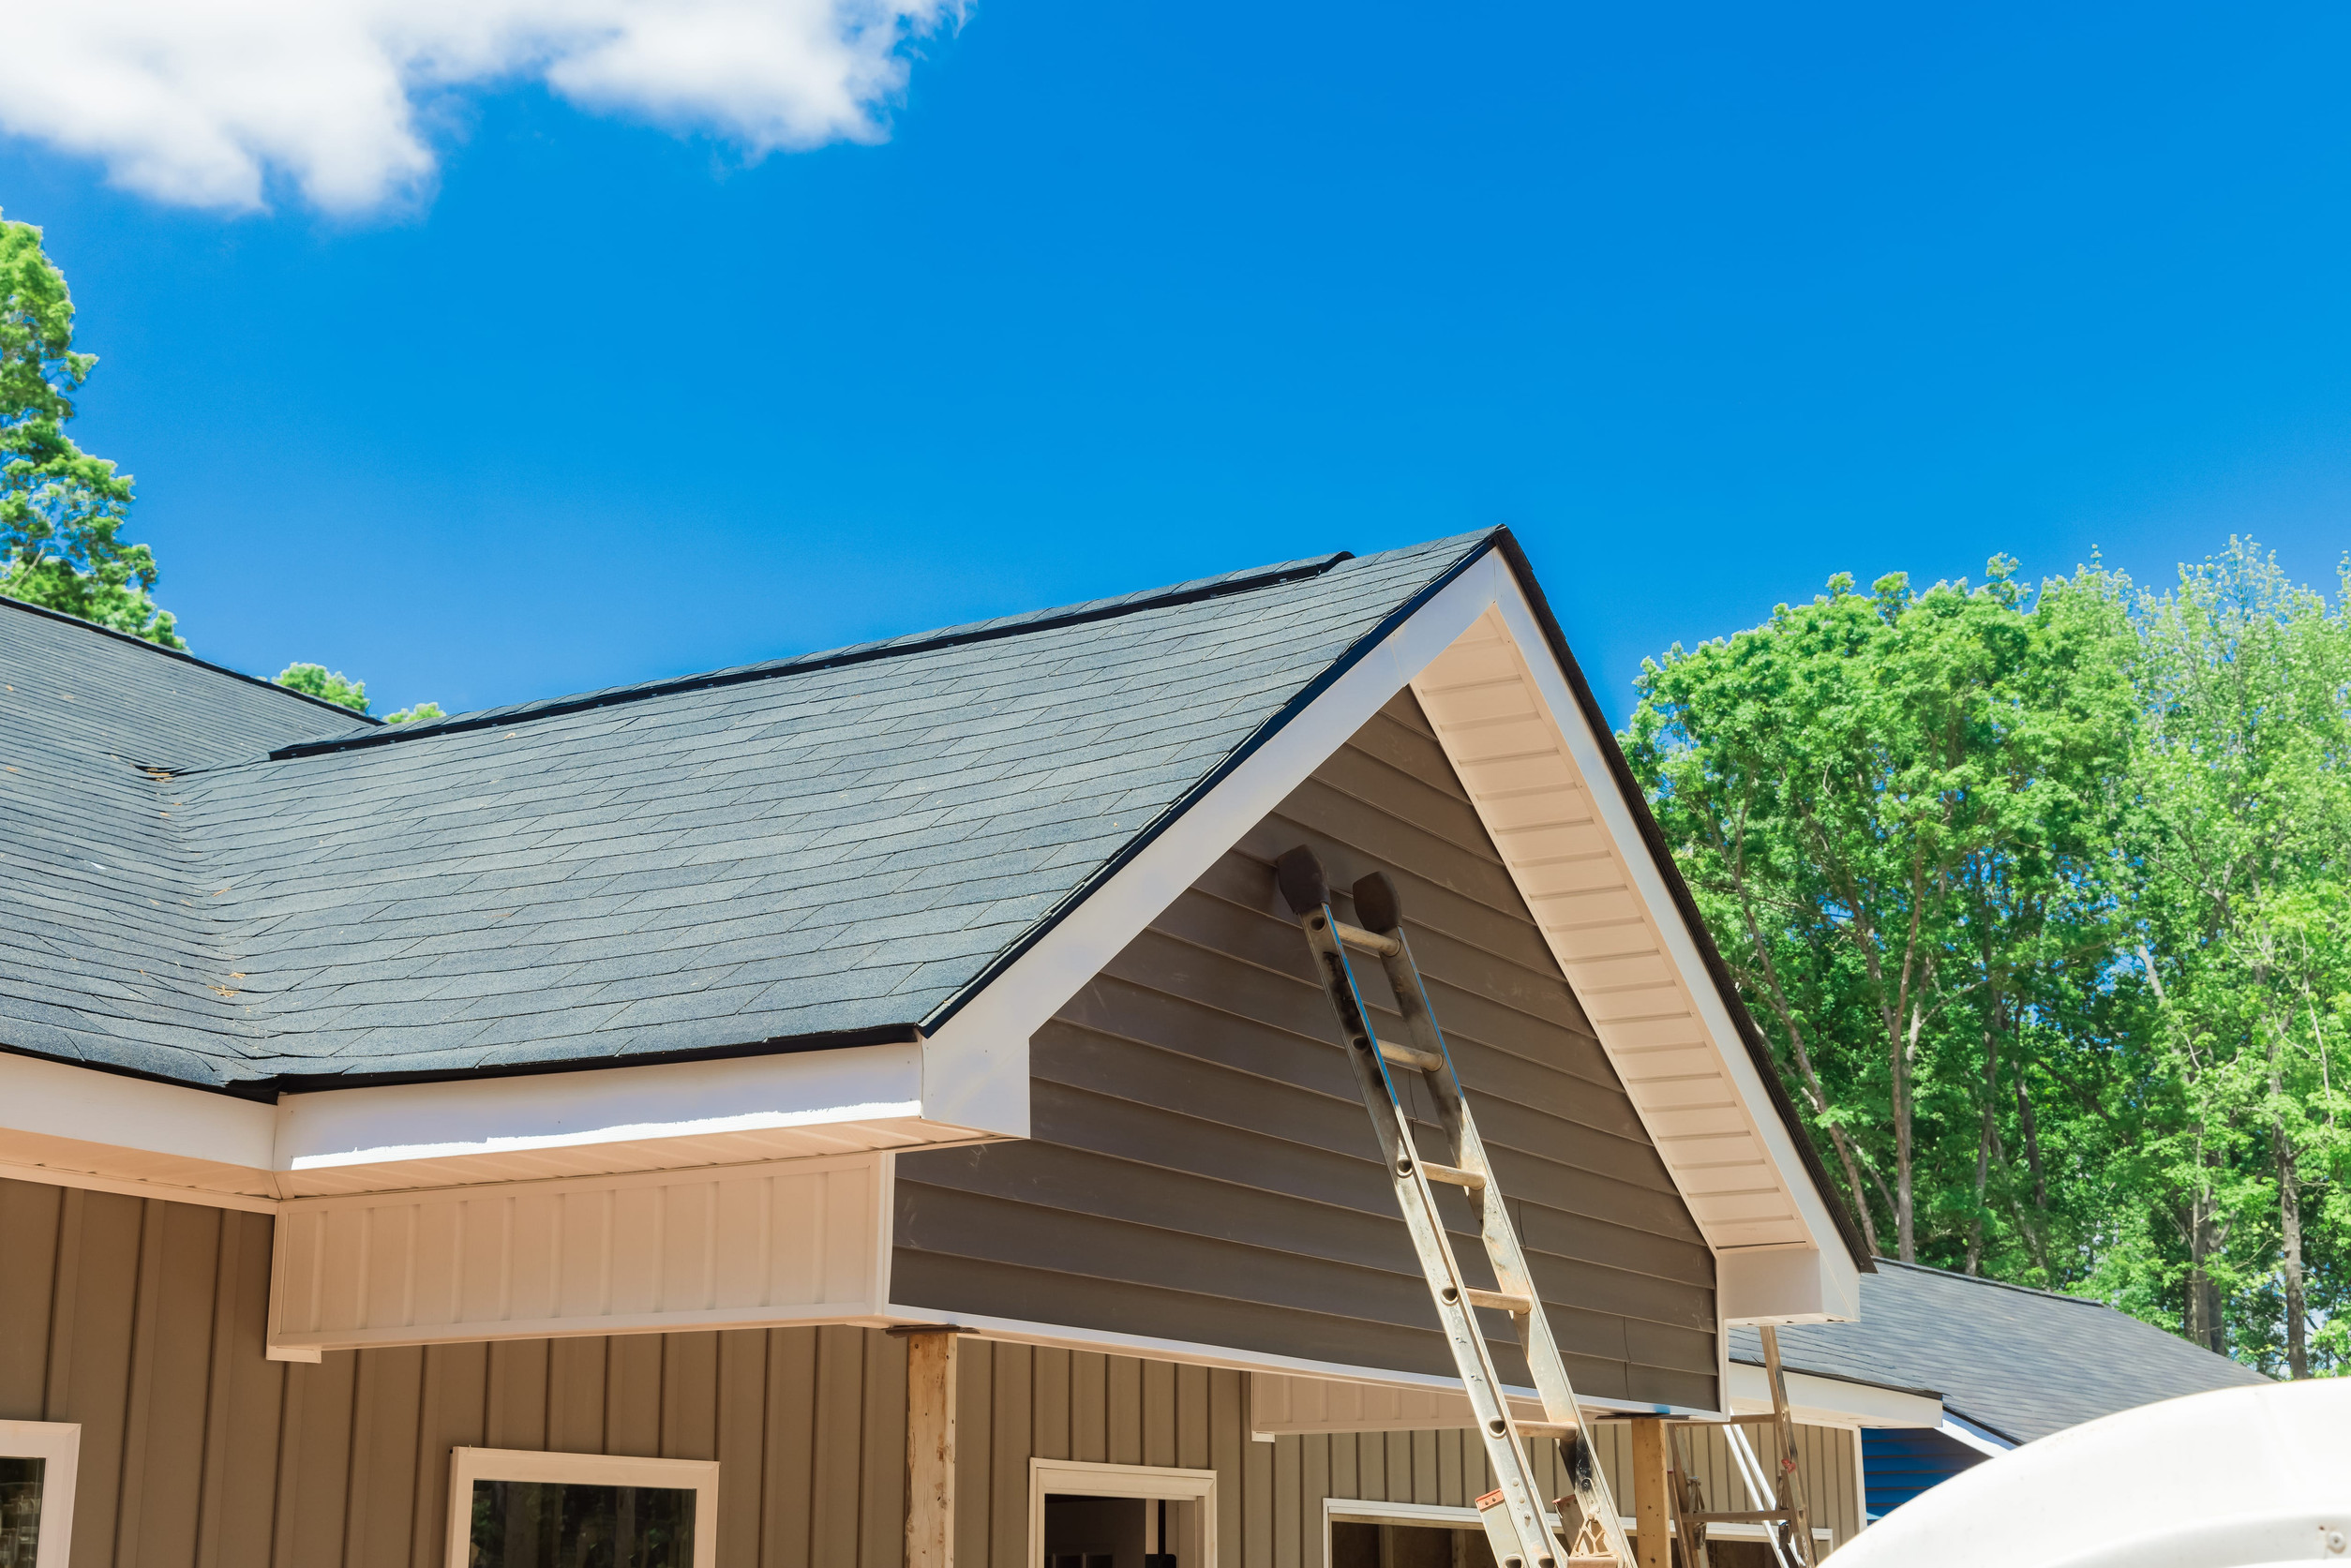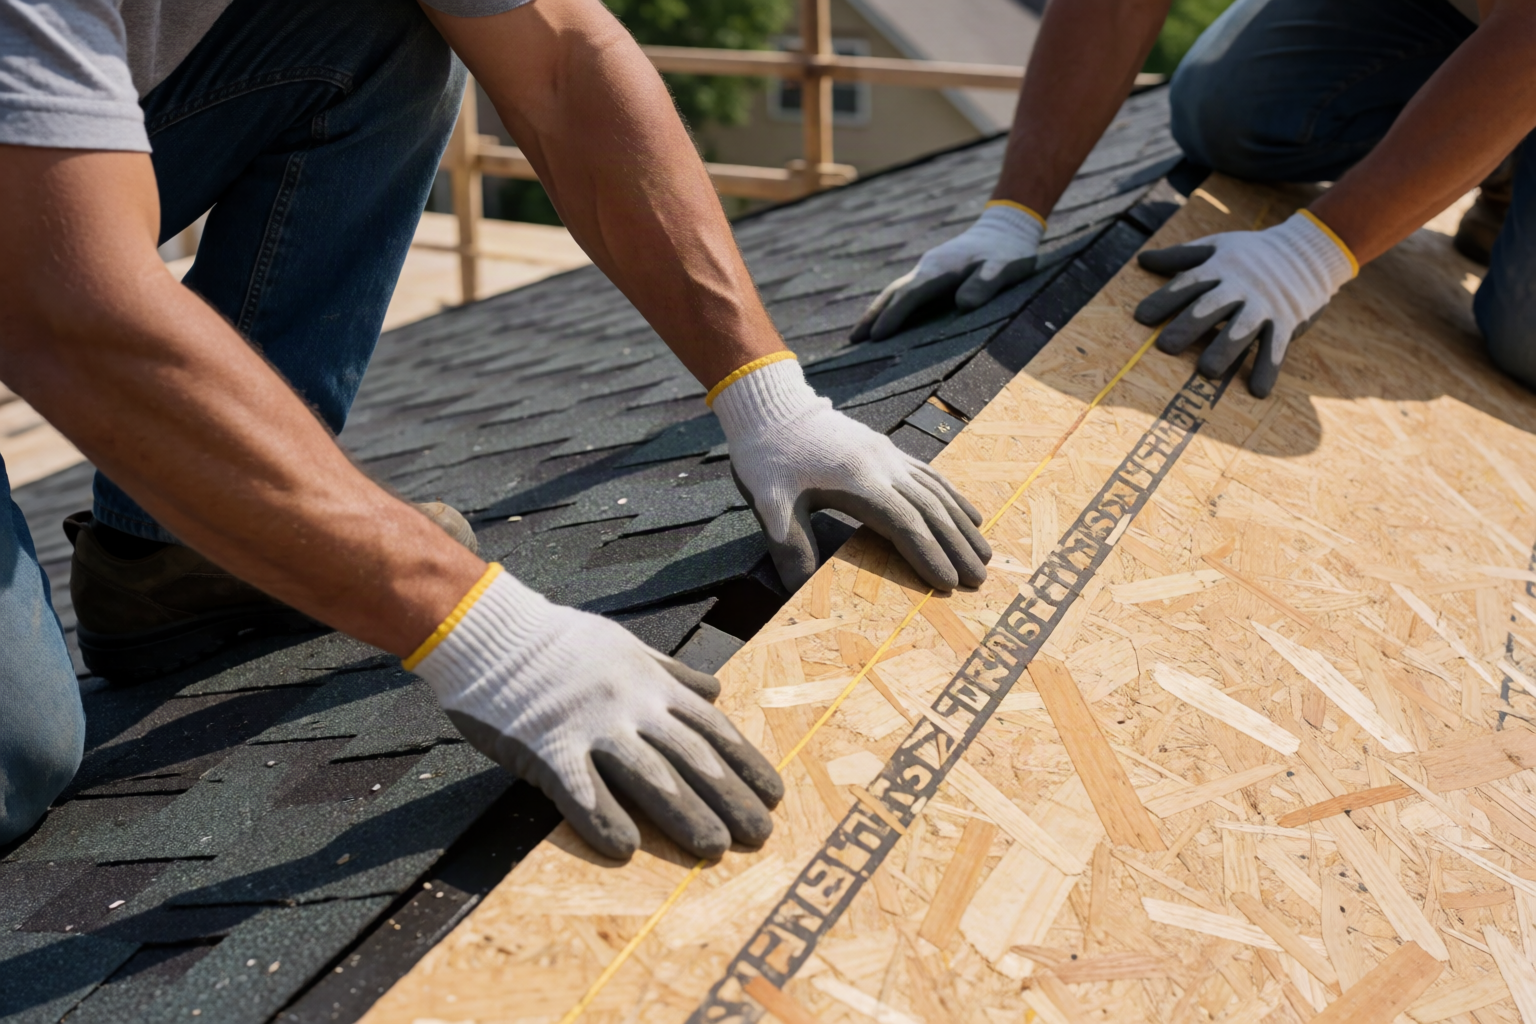
Installing a new roof is one of the largest structural investments a homeowner will ever make. While most homeowners spend weeks evaluating shingle colors, comparing material quotes, and vetting contractors, the actual installation day often feels like a black box. A crew arrives at sunrise, sets up heavy equipment around the perimeter of the home, and completely transforms the exterior in a flurry of activity over one or two days.
Understanding the step-by-step installation mechanics demystifies the process, helps you monitor the quality of the work, and prepares your property for the project.
From the moment the first old shingle is stripped away to the final magnetic sweep of your lawn, here is a detailed breakdown of what happens during a professional roof replacement.
Pre-Installation Setup: Property Protection
A professional roof installation begins before a single tool touches the roof plane. Demolishing an old roof generates thousands of pounds of old asphalt shingles, rusted nails, brittle underlayment, and wooden debris. Protecting your home's surrounding structures, landscaping, and driveway is step zero.
                  PROPERTY PROTECTION PROTOCOL

   [ Plywood Deck Shield ] ──► Covers AC units & outdoor condenser coils
   [ Heavy Duty Tarps ]   ──► Drape from eaves to protect siding & windows
   [ Driveway Matting ]   ──► Protects concrete/asphalt from dump trailers
   [ Perimeter Catch Zone ] ─► Keeps falling nails out of garden beds
Safety & Site Mechanics
- Driveway Protection: Dump trailers or roll-off dumpsters are parked on wooden boards laid over your driveway to prevent heavy wheels from cracking asphalt or damaging decorative concrete.
- Exterior Wall & Window Tarping: Tarps are hung from the eave lines and angled down toward debris bins to create slide chutes. This prevents falling debris from scratching siding, denting window frames, or damaging exterior light fixtures.
- Landscaping Safeguards: Air conditioning condenser units, flower beds, and bushes around the perimeter are covered with plywood shields or heavy canvas sheets to deflect stray debris and nail fragments.
Step 1: Complete Tear-Off Down to Bare Deck
While building codes in some jurisdictions permit laying a second layer of asphalt shingles over an existing roof (an overlay), virtually all reputable contractors strongly recommend—and often require—a complete tear-off down to bare roof decking.
  DO NOT OVERLAY SHINGLES (TEAR OFF ALWAYS PREFERRED)

  [ Overlay (Bad) ]            [ Complete Tear-Off (Best) ]
  • Hides rotted plywood       • Exposes structural deck rot
  • Adds excessive dead weight • Seals deck with ice/water shield
  • Voids manufacturer specs   • Establishes pristine substrate
Why Tear-Off Is Mandatory for Quality Builds
- Uncovering Hidden Deck Rot: You cannot evaluate the structural integrity of underlying plywood or OSB sheathing through layers of old felt paper and shingles.
- Flashing Replacement: Proper wall, valley, and chimney flashing cannot be woven into an overlay system.
- Weight Management: Adding a second layer doubles the dead weight load on your home's rafter framing, accelerating structural fatigue.
Using specialized shingle tear-off forks (tear-off shovels), the crew strips away old asphalt shingles, ridge caps, valley metals, vent boots, and old underlayment, dropping the waste directly into the tarped collection zone.
To understand how complete tear-offs expose hidden structural damage, explore our detailed guide on roof decking replacement and identifying wood rot.
Step 2: Deck Inspection & Structural Repairs
Once the roof deck is completely cleared of old materials, the job supervisor conducts a rigorous visual and physical inspection of the wooden sheathing.
What the Supervisor Looks For
- Spongy, Soft, or Rotted Wood: Plywood or OSB panels damaged by chronic, slow leaks must be cut out back to the center of adjacent rafters and replaced with fresh sheathing.
- Panel Edge Gaps: Plywood sheets require a $\frac{1}{8}\text{-inch}$ expansion gap between panels to prevent warping as humidity shifts.
- Fastener Grip: Any loose or backed-out original nails are re-driven or replaced to ensure the deck sits flat and tight against structural trusses.
To learn more about how deck repairs are calculated on contractor invoices, review our breakdown of transparent roofing pricing and quote structures.
Step 3: Drip Edge & Eave Protection
Before underlayment is applied, installers secure non-corrosive metal drip edge along the eave line (the bottom horizontal edge of the roof).
                      EAVE Drip Edge Assembly

           [ Ice & Water Shield Barrier ]  <-- Overlaps Drip Edge
                    |
           [ Metal Drip Edge Flange ]     <-- Fastened to Wooden Deck
                    |
           [ Wooden Deck Sheathing ]      <-- Structural Base
                    |
           [ Fascia Board / Gutter ]      <-- Exterior Trim
Drip edge is a L-shaped metal flange that directs melting snow and rainwater away from the wooden fascia board and directly into your gutter channels. Installing eave drip edge beneath the underlayment prevents water from wicking backward under the roof deck edge via capillary action.
Ensuring your roof runoff drains cleanly into your gutters prevents wood rot along your roof line. Pair your new drip edge installation with protective gutter guards to keep water channels flowing smoothly year-round.
Step 4: Self-Adhered Ice & Water Shield Barriers
In vulnerable zones where water pools, backs up, or flows in heavy volume, installers apply a heavy-duty self-adhered ice and water shield membrane.
                VULNERABLE MEMBRANE ZONES

  • Roof Valleys (Where two slopes meet at an inside angle)
  • Eave Lines (Extending 24 inches past interior heated wall lines)
  • Surrounding Chimneys, Skylights, and Plumbing Vents
  • Roof-to-Wall Transitions (Step flashing areas)
How Ice & Water Shield Works
Made from rubberized asphalt, this sticky membrane bonds directly to raw plywood decking. When roofing nails pass through the membrane during shingle installation, the flexible rubberized asphalt squeezes tightly around the nail shanks, creating a watertight, self-sealing compression barrier.
To compare protective secondary water barriers, read our in-depth analysis of roof underlayment types: felt vs synthetic vs peel and stick.
Step 5: Synthetic Underlayment Application
Across the remaining open roof slopes, the crew rolls out high-performance synthetic underlayment.
While traditional asphalt felt paper (15 lb or 30 lb felt) was once the industry standard, modern contractors almost universally use woven polypropylene synthetic underlayment.
       SYNTHETIC UNDERLAYMENT VS. TRADITIONAL FELT

  Synthetic Underlayment              Traditional Felt Paper
  +-------------------------------+   +-------------------------------+
  | • Highly tear-resistant       |   | • Tears easily under foot     |
  | • Repels UV rays for 180 days |   | • Dries out & becomes brittle |
  | • Lightweight & wide rolls    |   | • Absorbs moisture & wrinkles |
  +-------------------------------+   +-------------------------------+
Synthetic underlayment is fastened to the wooden deck using plastic-cap nails (cap-staples or cap-nails). These wide plastic caps prevent wind from tearing the material off the deck before shingles are laid, providing a weather-resistant barrier across the entire roof plane.
Step 6: Flashing Installation around Valleys and Penetrations
With underlayment secured, installers turn their attention to high-risk transition zones where water naturally converges: valleys, chimneys, walls, and vent pipes.
Key Flashing Assemblies
- Valley Flashing: Open metal valleys use heavy-gauge aluminum or galvanized steel with a raised center rib ("W" swale) to handle heavy rain runoff.
- Step Flashing Along Walls: Individual L-shaped metal cards are woven between shingle courses wherever a roof slope meets a vertical wall (dormers, second-story walls).
- Plumbing Vent Boots: Rubber-collared pipe boots are placed over plumbing stack pipes to create a flexible seal around pipes extending through the roof deck.
- Chimney Counter Flashing: Multi-piece metal flashing is embedded into brick mortar joints (reglets) to cover underlying step flashing.
If your project involves complex wall or chimney structures, see our dedicated guide on roof flashing repair for valleys and walls.
Step 7: Starter Strip Shingles
One of the most common installation mistakes made by amateur installers is skipping or improvising starter strip shingles.
Starter strips are specialized, narrow shingle courses pre-cut with continuous factory-applied adhesive strips along their outer edge. They are nailed along the eaves and rake edges (the sloping side edges of the roof) before main shingles are installed.
                  STARTER STRIP FUNCTION

    [ First Main Architectural Shingle Course ]
                           │
    [ Starter Strip with Factory Sealant ]  <-- Locks Eave Edges
                           │
    [ Metal Drip Edge Flange ]
Primary Purposes of Starter Strips
- Wind Uplift Protection: The factory adhesive bonds directly to the underside of the first course of shingles, sealing the perimeter against wind uplift.
- Water Barrier at Joints: Starter strips ensure that water running down between the side seams of the first shingle course lands on solid asphalt rather than exposed underlayment.
Step 8: Architectural Shingle Installation
With all underlayment, flashing, and starter courses secured, installers begin laying the primary architectural shingles.
                SHINGLE NAILING MECHANICS

            [ Overlapping Shingle Course ]
                          │
  ───►  O      O      O   O   O      O  ◄── 6-Nail High-Wind Pattern
     ════════════════════════════════════
            [ Common Bond Nail Line ]
Installation Mechanics
- Offset Patterning: Installers follow manufacturer-specified offset steps (typically 4-inch or 6-inch step-offs) as they progress up the roof. Offsetting side joints prevents water from running straight down through aligned seams.
- Chalk Line Alignment: Installers snap horizontal and vertical chalk lines across the underlayment to keep courses straight and level.
- Precise Nailing Patterns: Pneumatic roofing nailers drive galvanized, ring-shank nails into the shingle's double-thick "common bond" nail line. In high-wind zones, contractors use a 6-nail pattern per shingle (instead of the standard 4-nail pattern) to achieve $130\text{ mph}$ wind warranty coverage.
Step 9: Ventilation & Ridge Cap Installation
Once shingles reach the top peak of the roof (the ridge), the crew cuts open the top edge of the plywood sheathing (leaving a 1- to 2-inch gap on either side of the ridge board) to establish a continuous ridge exhaust vent.
                   RIDGE VENTILATION CROSS SECTION

                    [ Ridge Cap Shingles ]
                              │
                    [ Filtered Ridge Vent ]
                              │
               [ Air Flow Out ] ◄── [ Warm Attic Air ]
               ═══════════════════════════════════════
                 [ Plywood Decking Gap (1-2") ]
Ridge Vent Mechanics
A plastic ridge vent is secured directly over the open slot, allowing warm, humid attic air to exhaust out continuously. Specialized ridge cap shingles are then bent over the vent and nailed in place, blending with the surrounding roof profile.
Balanced ventilation is crucial for maintaining healthy roof decking and preventing premature shingle failure. To verify that your attic space maintains proper thermal airflow, consider scheduling an attic inspection after installation.
Step 10: Cleanup & Magnetic Sweep
A professional installation is not complete until your yard is restored to its original condition. Demolition and installation drop thousands of tiny metallic fasteners, so magnetic cleanup is critical.
The Final Inspection Sequence
- Ground Magnetic Sweep: The crew rolls heavy-duty, rolling magnetic sweepers across your lawn, driveway, flower beds, and walkways multiple times to pick up stray nails.
- Gutter Cleaning: Workers blow or hand-clean all debris and loose granules out of your gutter channels.
- Supervisor Walkthrough: The job foreman walks the roof line to verify straight courses, sealed pipe boots, and secured flashing.
- Final Homeowner Inspection: The supervisor walks you around the property, reviews the finished work, provides warranty documentation, and answers any remaining questions.
To learn more about how quality installations and long-term warranty guarantees protect your home's equity, read our analysis on does a new roof add home value?.
Work with Certified Roofing Specialists
A new roof installation is a complex engineering assembly that requires precision, proper materials, and strict safety practices at every stage. Skipping steps—whether neglecting drip edge, skimping on starter shingles, or ignoring rotten plywood—leads to early failure and costly interior repairs.
At The Roof Resource of East TN, we manage every phase of the replacement process with complete transparency, certified craftsmanship, and factory-backed warranties. If you want a stress-free roofing experience from tear-off to final cleanup, explore our comprehensive residential roof repair and replacement options.
Ready to replace your aging roof with a durable, beautiful system installed to the highest industry standards? Contact our expert team today to schedule a zero-pressure consultation and receive an itemized estimate.
More Articles

Questions to Ask a Roofer: 20 Must Ask Items Before Signing Today

How to Compare Roofing Quotes: Apples to Apples Price Guide Today

Drip Edge Installation: Why Code Requires It in Many Areas Today in East TN

Best Roof Sealants for Leaks: Which Products Actually Last Today