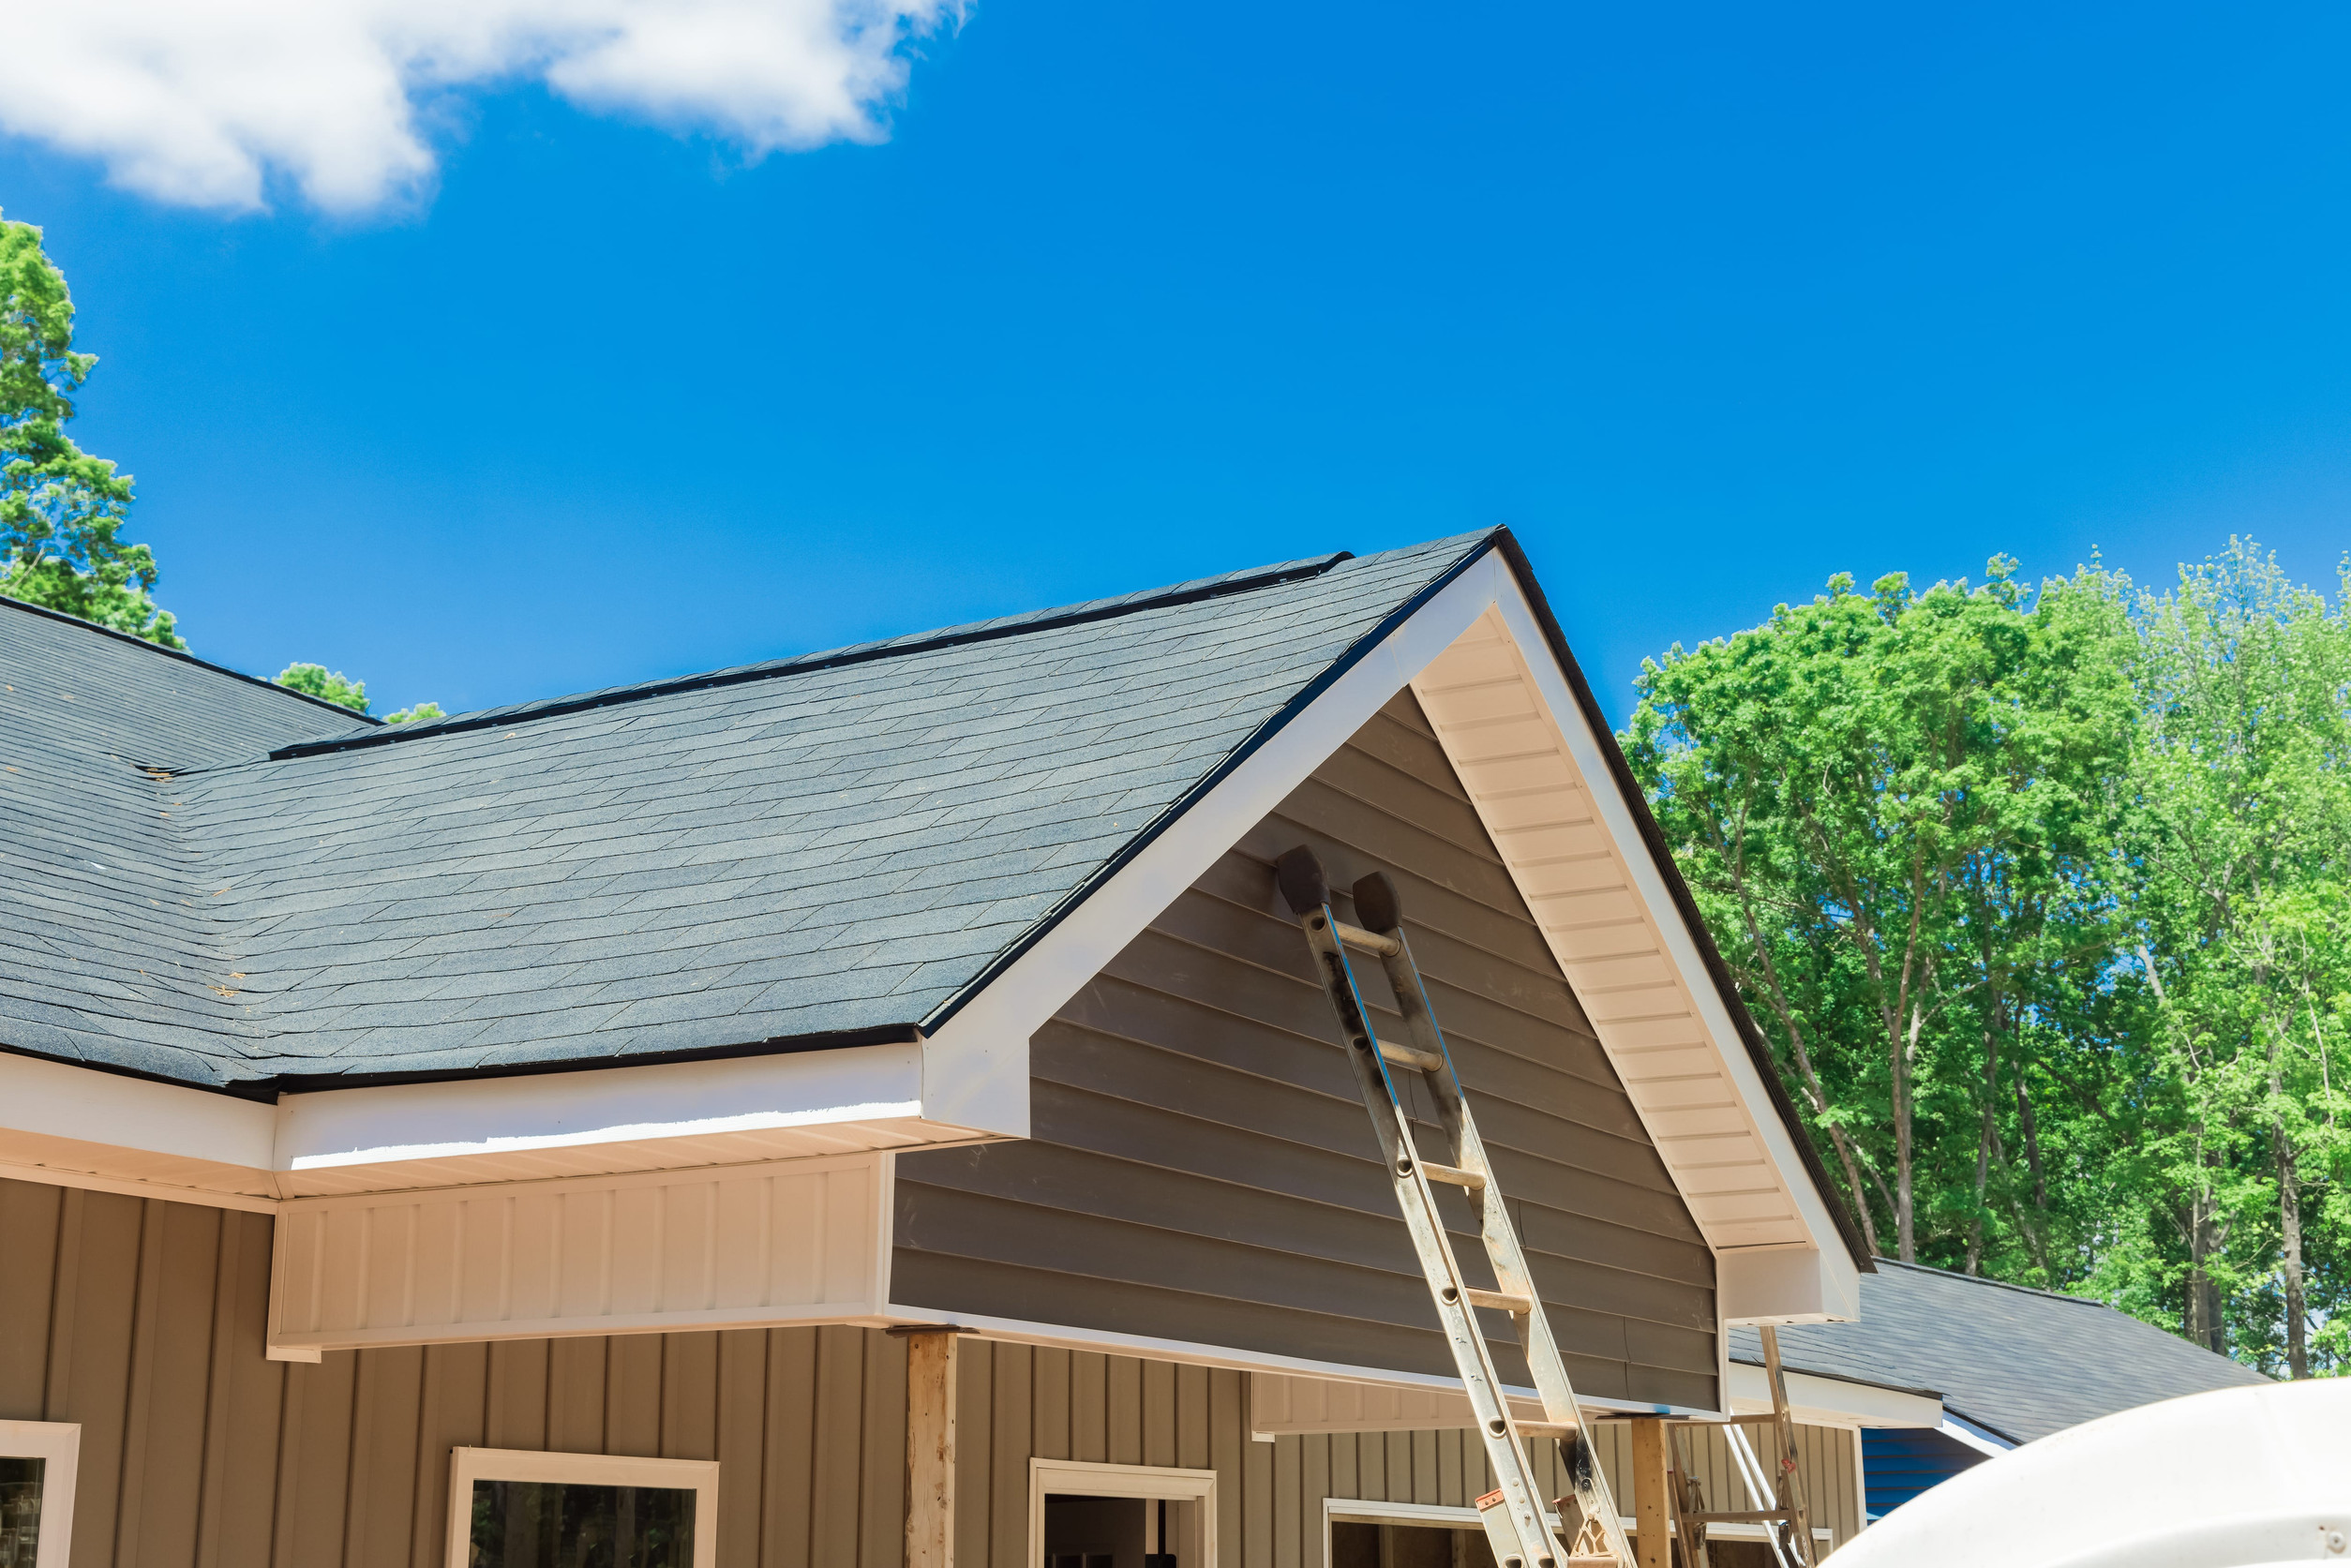
A drip edge is a specialized metal flashing installed along the margins of a roof to direct water away from the fascia board and into the gutter system. Although it appears as a small L-shaped or T-shaped piece of metal, its role in protecting a building from water damage is critical.
For decades, many home builders viewed drip edge installation as an optional upgrade rather than an essential component. In older construction, it was common to see shingles extending slightly over the roof deck edge without any supporting metal flashing. Today, building codes across North America mandate drip edge installation on almost all steep-slope asphalt shingle roofs. Modern building science has demonstrated that omitting this low-cost component leads to severe structural decay, fascia rot, basement water intrusion, and premature roof failure.
Understanding why drip edge is required by code, how it protects a home's perimeter, and how to install it correctly is essential for any homeowner preparing for a roof replacement or repairing exterior water leaks.
1. What Is a Drip Edge and How Does It Function?
A drip edge is non-corrosive metal flashing—typically made from aluminum, galvanized steel, or copper—installed along both the eaves and gables of a roof. It features an extended vertical flange, known as a drip leg, that forces water to drop directly into the gutter or away from the building rather than clinging to the fascia board via capillary action.
The Physics of Surface Tension and Capillary Action
Water does not simply fall straight off a roof edge. Because of surface tension, water flowing down an asphalt shingle roof tends to curl back inward under the shingle overhang. Without drip edge flashing, this water trickles down the face of the wooden fascia board, behind the gutter, and onto the exposed edge of the wooden roof decking.
WATER FLOW WITH AND WITHOUT DRIP EDGE

Without Drip Edge:
Shingle Overhang -> Water Curls Underneath -> Soaks Wooden Fascia & Sub-Decking -> Rot & Mold

With Drip Edge:
Shingle Overhang -> Underlayment -> Drip Edge Flashing -> Directs Flow Into Gutter Center
Over time, this continuous wetting causes the wooden fascia board to rot, loosens gutter attachment spikes, and allows water to seep under the edge shingles. Once moisture gets beneath the shingles, it decays the OSB or plywood decking along the perimeter, creating an ideal environment for mold and wood-destroying insects.
2. Why Modern Building Codes Mandate Drip Edge Installation
Prior to the adoption of modern unified building codes, drip edge requirements varied widely by state, county, and municipality. Today, the International Residential Code (IRC) clearly dictates its inclusion on residential steep-slope roofs.
What the International Residential Code (IRC) Requires
Section R905.2.8.5 of the International Residential Code specifically governs drip edge installation for asphalt shingle roofs. The core requirements include:
- Mandatory Application: A drip edge must be provided at eaves and gables of shingle roofs.
- Proper Fastening: Fasteners must be driven every 12 inches on center along the top flange, placed approximately 1 to 2 inches from the top edge.
- Underlayment Overlap Rules: At the eaves, the drip edge must be installed beneath the underlayment or ice and water shield. At the gables (rakes), the drip edge must be installed over the underlayment.
- Adhesion and Flashing Overlap: Adjacent pieces of drip edge must overlap by a minimum of 2 inches to form a continuous water barrier.
Building inspectors routinely reject new roof installations that omit drip edge flashing or layer it incorrectly relative to the roof underlayment. Verifying that your contractor adheres to these standards is vital. Reviewing our guide on transparent roofing quotes and code compliance standards will help you verify that code-mandated line items are explicitly included in your contractor's estimate.
3. The Structural Dangers of Missing Drip Edge
Omitting drip edge flashing sets off a chain reaction of moisture-related failures that spread across your roof edge, attic, and building foundation.
Decking Delamination and Edge Rot
Plywood and Oriented Strand Board (OSB) are manufactured with water-resistant adhesives, but their cut edges remain highly porous. When water curls around the edge of a shingle without a drip edge to shield the wooden deck, the exposed wood edges absorb moisture like a sponge. The wood swells, splits, and loses its structural integrity. Nails securing the bottom course of shingles lose their holding power, leaving the roof vulnerable to wind blow-offs during severe storms.
Fascia Board Deterioration and Gutter Collapse
Gutters are mounted directly onto the wooden fascia board. When missing drip edge allows water to stream continuously down the back side of the gutter, the fascia board stays saturated. Within two to three seasons, the wood rots around the gutter mounting brackets. Under the heavy weight of winter ice or heavy rain, the entire gutter system can pull free from the house and collapse.
Installing high-performance clog-free gutter systems along your roof perimeter helps channel water away from your foundation, but gutters must always be paired with properly layered drip edge flashing to function as designed.
4. Anatomic Profiles: D-Style vs. C-Style Drip Edge
Drip edge flashing comes in two primary profile shapes: C-Style (standard L-shape) and D-Style (T-style or gutter apron). Selecting the correct profile depends on your roof geometry and gutter placement.
DRIP EDGE PROFILE COMPARISONS

C-Style (L-Shaped)
 ┌─────── (Top Flange on Decking)
 │
 └─┐      (Hemmed Edge)
   │      (Vertical Drop Leg)

D-Style (Drip Apron / T-Shaped)
 ┌─────── (Top Flange on Decking)
 │
 ├───┐    (Extended Projection Lip)
     │    (Vertical Drop Leg)
C-Style Drip Edge (Standard L-Shape)
C-Style is a basic 90-degree bent metal strip with a small hemmed edge at the bottom. The top flange sits flat on the roof deck, while the vertical leg extends downward along the fascia. While effective for basic water deflection, C-Style lacks an extended projection lip, meaning water can still stick to the fascia if the trim is slightly out of plumb.
D-Style Drip Edge (Drip Apron or T-Style)
D-Style drip edge is the gold standard for modern residential roofing. It features an extended horizontal projection lip (often extending 3/8 to 1/2 inch away from the vertical leg) before bending down into the drip leg. This design forces water to drop clear of the fascia board and land directly into the center of the gutter trough. D-Style is strongly recommended by roofing manufacturers and building inspectors for all eave installations.
5. Correct Installation Layering: Eaves vs. Rakes
A common mistake made by inexperienced installers is layering the drip edge incorrectly relative to the underlayment. Incorrect layering invalidates code compliance and allows water to run beneath the weather barrier.
EAVE VS. RAKE LAYERING RULES

Eave Edge (Lower Roof Boundary):
Top Layer:     Asphalt Shingle Starter Strip
Middle Layer:  Self-Adhering Ice & Water Shield / Underlayment
Bottom Layer:  Drip Edge Flashing (Directly on Bare Decking)

Rake Edge (Gable / Sloped Margin):
Top Layer:     Drip Edge Flashing (Installed OVER Underlayment)
Middle Layer:  Self-Adhering Ice & Water Shield / Underlayment
Bottom Layer:  Bare Roof Decking
Eave Installation Mechanics
At the lower horizontal edge of the roof (the eaves), the primary threat is water curling under shingles and flowing back toward the deck. Therefore, the drip edge must be nailed directly onto the bare wood decking before any synthetic underlayment or ice and water shield is applied.
When the synthetic underlayment or self-adhering membrane is rolled out, it laps over the top flange of the drip edge. Any water that gets past the shingles flows down the underlayment and safely over the top of the drip edge flange into the gutter.
Rake Installation Mechanics
At the sloped gable ends of the roof (the rakes), the primary threat is wind-driven rain pushing water sideways underneath the edge of the shingles. Here, the sequence is inverted: the synthetic underlayment is installed over the bare decking first, running all the way to the edge of the gable.
The drip edge is then installed on top of the underlayment along the rake. This prevents wind-driven rain from sneaking underneath the edge of the underlayment along the gable trim.
6. How Drip Edge Works with Ice and Water Shields
In colder climates, ice dams pose a constant threat to roof perimeters. As snow melts on upper roof surfaces and refreezes near unheated eaves, ice builds up, creating a ridge that traps liquid water behind it.
ICE DAM CREATION AND WATER BACKUP

1. Heat rises from attic space, melting roof snow.
2. Meltwater flows down to cold, unheated eaves.
3. Water refreezes into a solid ice ridge at the gutter.
4. Trapped meltwater backs up UNDER shingles.
5. Ice and water shield + drip edge stops water entry.
To combat ice dam water backup, building code requires a self-adhering ice and water shield membrane along the eaves, extending at least 24 inches inside the warm exterior wall line.
When installed over an eave drip edge, the self-adhering membrane bonds directly to the top flange of the metal flashing. This forms an airtight, watertight seal along the vulnerable lower perimeter. Even if an ice dam causes water to pool two inches deep above the gutter, the liquid cannot penetrate the underlying deck or soak the fascia wood.
7. Materials and Corrosion Resistance
Building codes require drip edge flashing to be constructed from corrosion-resistant materials to ensure it lasts as long as the primary roofing cladding.
Aluminum Drip Edge
Aluminum is the most popular material for residential installations. It does not rust, is lightweight, and comes factory-painted in a wide array of colors to match gutters and soffit trim. Multi-gauge aluminum (typically 0.019 to 0.024 inches thick) provides excellent rigidity against wind uplift.
Galvanized Steel
Galvanized steel offers superior strength and impact resistance compared to aluminum. It is less prone to bending during ladder placement or hail storms. Steel drip edge should be hot-dipped galvanized or painted to prevent edge corrosion over time.
Copper
Copper drip edge is utilized on luxury historic restorations, high-end slate roofs, and cedar shake installations. Copper forms an attractive natural patina over time and offers a lifespan exceeding 50 to 100 years. Copper flashing must be paired with copper nails to avoid galvanic corrosion between dissimilar metals.
8. Common Drip Edge Installation Errors to Avoid
Even when contractors install drip edge, minor workmanship errors can compromise the entire water barrier.
- Omitting the End Overlaps: When joining two pieces of drip edge along a long eave line, installers must overlap the pieces by at least 2 inches. Failing to overlap creates a vertical gap where water can stream directly onto the fascia joint.
- Nailing Too Close to the Edge: Fasteners should be placed near the top edge of the flange. Driving nails close to the lower bend can create leak paths that allow water to bypass the flashing.
- Leaving Zero Gap Against the Fascia: While the top flange sits flat on the deck, pressing the vertical leg tight against textured fascia wood can trap water via capillarity. A slight 1/8-inch air gap allows water to drop cleanly into the gutter.
- Cutting Improper Mitered Corners: At rake-to-eave corner transitions, the metal flashing should be neatly cut, folded, and mitered to create a continuous water shedder. Slanted or gapped cuts leave raw wood exposed to wind-driven rain.
When planning a comprehensive roof overhaul, working with experienced contractors ensures every flashing detail complies with local codes. To explore complete roof replacement systems and material options, visit our dedicated page on residential roof replacement solutions.
Proper ventilation is also essential for preserving the lifespan of your roof deck and preventing moisture buildup along eaves. Schedule a professional attic inspection to verify that eave soffit vents are unblocked by insulation and providing clean airflow.
Partner with Regional Exterior Specialists
Drip edge installation is not an optional cosmetic add-on; it is a code-mandated water management barrier that protects your roof decking, fascia boards, and home foundation from costly rot and water damage.
At The Roof Resource of East TN, we take pride in delivering code-compliant roofing craftsmanship with total pricing transparency. We ensure every roof replacement incorporates proper D-style drip edge flashing, self-adhering membranes, and precision layering.
Are you preparing for a new roof or dealing with water leaks around your eaves? Contact our expert team today to schedule a thorough inspection and receive an itemized quote.
More Articles

Questions to Ask a Roofer: 20 Must Ask Items Before Signing Today
How to Compare Roofing Quotes: Apples to Apples Price Guide Today
Drip Edge Installation: Why Code Requires It in Many Areas Today in East TN

Best Roof Sealants for Leaks: Which Products Actually Last Today