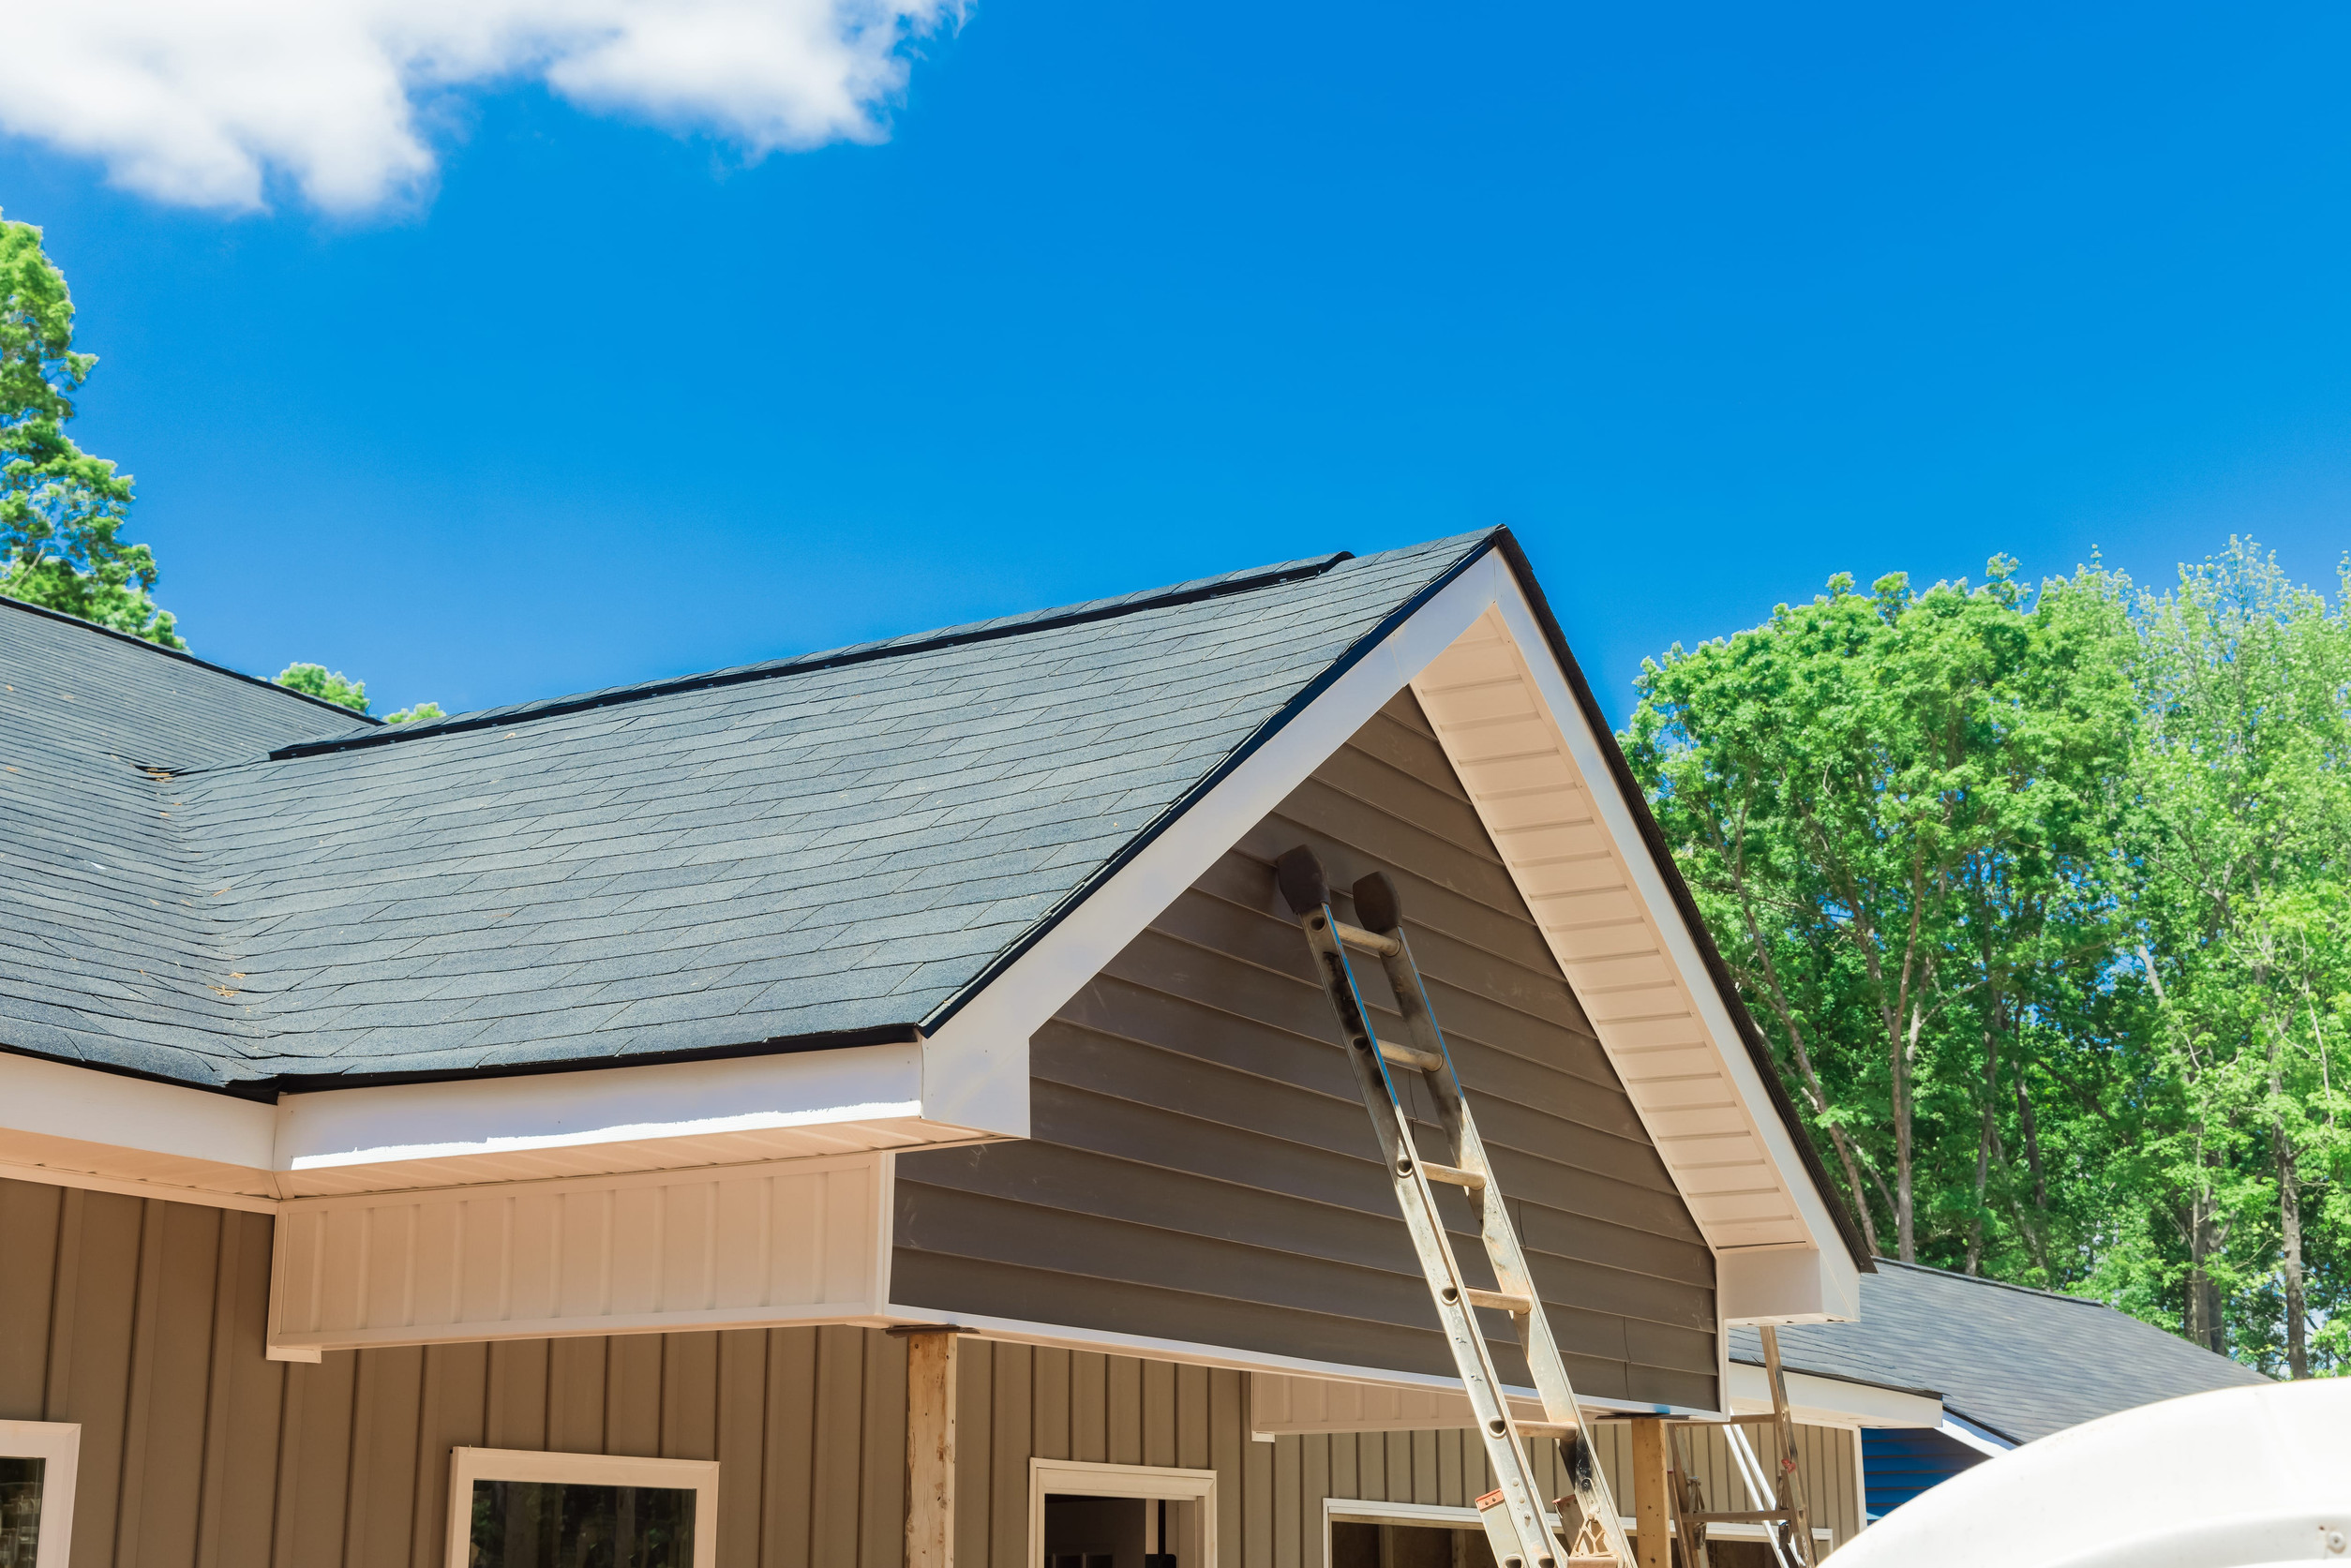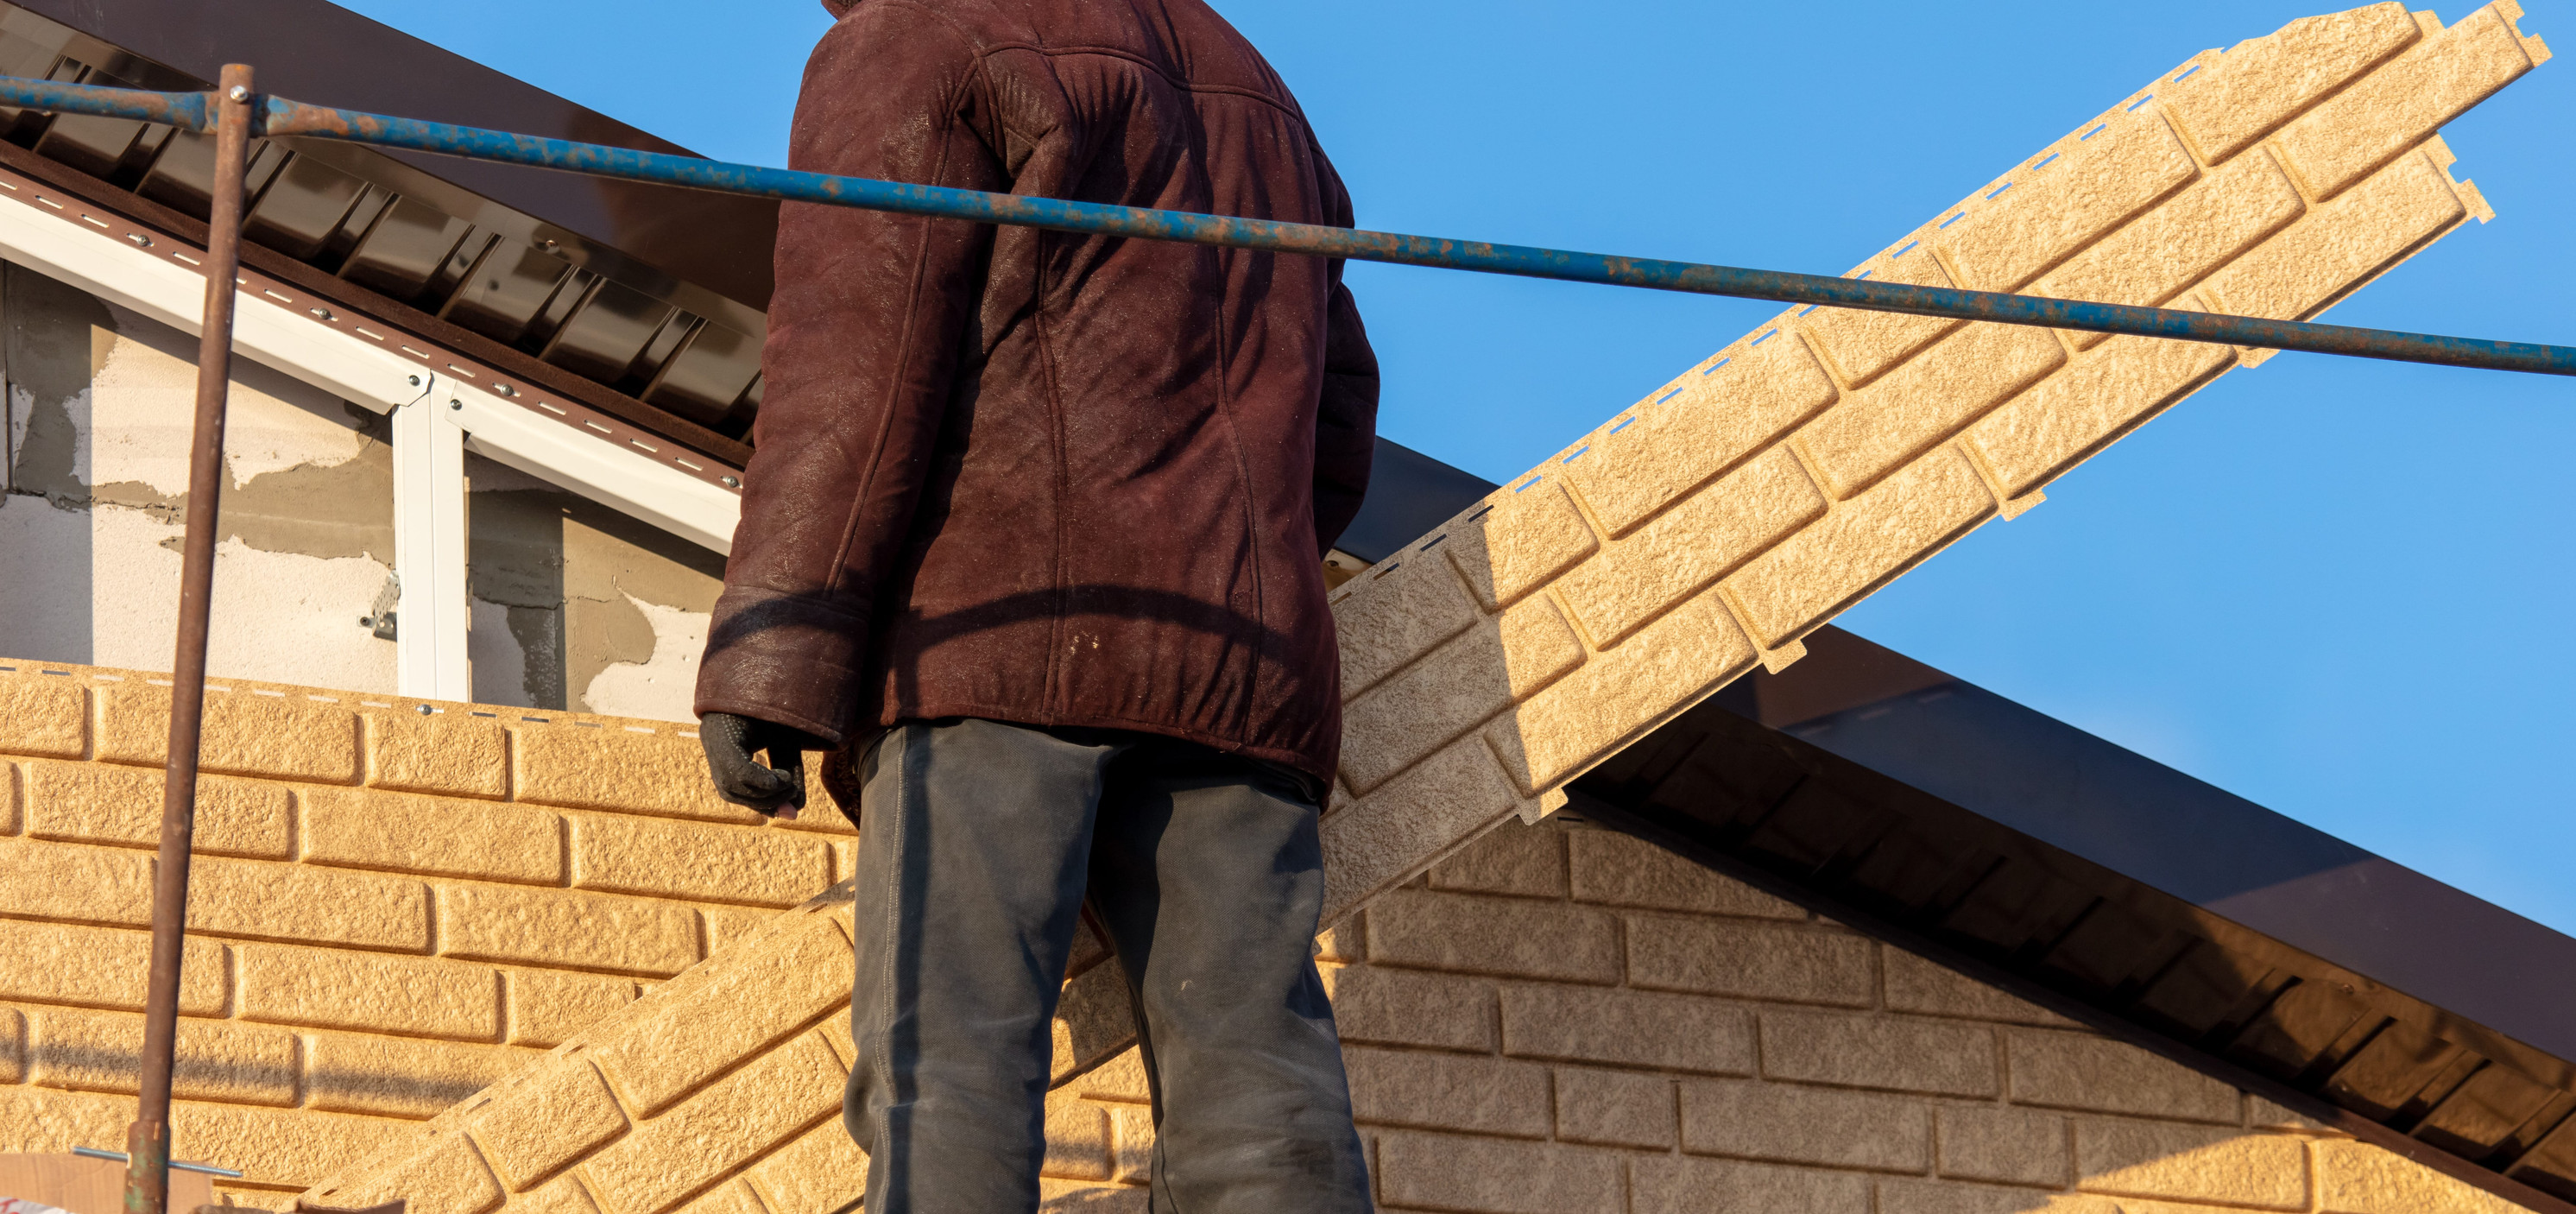
When evaluating exterior home improvement projects, few investments deliver as dramatic a transformation as new siding. Siding serves a dual purpose: it acts as your home's primary protective armor against wind, rain, and extreme temperature swings, while also defining its architectural style and curb appeal.
Over time, aging siding becomes discolored, warped, cracked, or infected with wood rot, leaving your underlying wall sheathing vulnerable to water intrusion and high energy bills. Whether you are replacing old aluminum panels, upgrading from worn vinyl to fiber cement, or selecting cladding for a new build, understanding siding installation mechanics helps you evaluate contractor proposals, choose the right materials, and protect your investment.
This guide breaks down the fundamentals of siding installation, compares popular materials, details the multi-layer weather barrier system, and outlines best practices for long-lasting curb appeal.
1. Why Siding Installation Quality Matters
New siding is far more than a cosmetic coat of paint for your exterior walls. It is a highly engineered, multi-layered exterior cladding system.
                  THE MULTI-LAYER EXTERIOR WALL ASSEMBLY

  [ Interior Drywall ] ──► [ Wall Stud Framing ] ──► [ OSB / Plywood Sheathing ]
                                                              │
  [ Exterior Cladding ] ◄── [ Drainage Cavity ] ◄── [ House Wrap Barrier ]
A flawless installation delivers three core benefits:
- Structural Weatherproofing: Keeps wind-driven rain, snow, and ambient humidity from penetrating wood wall framing and interior insulation.
- Thermal Efficiency: Adding insulated siding or exterior foam board during installation eliminates thermal bridging through wooden studs, reducing monthly heating and cooling costs.
- Enhanced Appraisal & Resale Value: Fresh, modern siding creates immediate curb appeal, increasing your home's marketability and appraisal valuation.
To see how exterior upgrades boost property valuations, read our report on how exterior renovations impact home appraisal values.
2. Comparing Popular Siding Materials
Homeowners today can choose from a wide variety of siding materials, each offering distinct aesthetic profiles, maintenance demands, and durability profiles.
                      POPULAR SIDING MATERIALS

  Vinyl Siding               Fiber Cement               Engineered Wood
  +----------------------+   +----------------------+   +----------------------+
  | • Budget-friendly    |   | • Non-combustible    |   | • Authentic wood look|
  | • Low maintenance    |   | • Rot/insect proof   |   | • Lightweight/tough  |
  | • Thermal expansion  |   | • Requires painting  |   | • Factory pre-finished|
  +----------------------+   +----------------------+   +----------------------+
I. Vinyl Siding
Vinyl remains the most popular cladding choice across residential neighborhoods due to its affordability and low maintenance requirements.
- Pros: Highly cost-effective, never needs painting, available in dozens of colors and profiles (dutch lap, board and batten, shake).
- Cons: Expands and contracts significantly with temperature shifts; can become brittle and crack in extreme cold or warp under intense heat reflection.
II. Fiber Cement Siding (e.g., James Hardie)
Composed of sand, cement, and cellulose fibers, fiber cement is a top-tier material for durability and fire resistance.
- Pros: Non-combustible (Class A fire rating), impervious to wood-boring insects and rot, convincingly mimics natural wood grain.
- Cons: Heavy material requiring specialized cutting tools and a two-to-three-person installation crew, driving up labor costs.
III. Engineered Wood Siding (e.g., LP SmartSide)
Engineered wood combines real wood fibers with waterproof resins and zinc borate preservatives to create lightweight, durable lap panels.
- Pros: Highly impact-resistant against hail, easier to cut and install than fiber cement, comes in long 16-foot planks to minimize visible seams.
- Cons: Requires touch-up paint along cut edges to prevent moisture absorption over time.
For homeowners coordinating full exterior renovations, explore our complete residential siding installation services to evaluate material choices and color samples.
4. The Multi-Layer Installation Process
Installing siding requires a systematic, step-by-step approach to ensure the home remains watertight for decades. Here is how professional installation crews execute a project from start to finish:
                    SIDING INSTALLATION SEQUENCE

  [ Teardown & Wall Repair ] ──► Remove old siding & replace rotted sheathing
                                             │
                                             ▼
  [ Weather-Resistive Barrier ] ──► Install house wrap & tape all seams
                                             │
                                             ▼
  [ Trim & Channel Installation ] ──► Mount corner posts, J-channels, & starter
                                             │
                                             ▼
  [ Cladding Panel Installation ] ──► Fasten panels allowing thermal movement
                                             │
                                             ▼
  [ Caulking & Final Detailing ]  ──► Seal window/door joints with polyether
Step 1: Teardown & Substrate Inspection
The crew strips away old siding down to the bare wooden wall sheathing (OSB or plywood). The crew inspects the sheathing for hidden water stains, soft spots, or rot—replacing damaged panels before proceeding.
If you suspect hidden water leaks have reached your roof deck or upper wall framing, review our guide on identifying wood rot and replacing decking panels.
Step 2: Weather-Resistive Barrier (WRB) & Flashing
Installers wrap the entire home in a continuous layer of breathable house wrap (such as Tyvek). The house wrap acts as a one-way membrane: it prevents liquid water from entering from the outside while allowing interior moisture vapor to escape.
All seams are taped with specialized acrylic seam tape. Self-adhering flashing tape is applied around all window and door rough openings to seal corner joints.
Step 3: Corner Posts, Starter Strips, and J-Channels
Before main siding panels are hung, specialized trim pieces are installed:
- Outside and Inside Corner Posts: Provide receiving channels for siding panel ends.
- Starter Strips: Fastened along the bottom foundation line, providing a locking lip for the first row of siding.
- J-Channels: Installed around windows, doors, and soffit lines to create clean, water-shedding border channels.
Step 4: Panel Fastening Mechanics (Thermal Movement)
Fastening mechanics vary depending on the chosen material:
- Vinyl Siding: Vinyl panels must float. Installers drive nails into the center of pre-punched nail slots, leaving a $\frac{1}{16}\text{-inch}$ gap between the nail head and the vinyl face. This allows the vinyl to expand and contract freely as ambient temperatures change without buckling or warping.
- Fiber Cement & Engineered Wood: Fastened securely using blind-nailing techniques along the top edge or face-nailing where specified, keeping nail heads flush with the panel face.
Step 5: Integrating Roof-to-Wall Flashing
Where siding meets a sloping roof plane (such as dormers or second-story step-downs), installers must leave a 2-inch clearance gap between the bottom edge of the siding and the roof shingles. Metal step flashing must extend up behind the house wrap to route runoff safely onto the roof.
To learn how roof and wall flashings work together to prevent leaks, read our guide on roof flashing repair for valleys and walls.
5. Siding Installation Cost Factors
The total cost of a siding replacement project varies based on wall square footage, architectural complexity, choice of materials, and underlying repair needs.
Average Siding Material & Installation Cost Matrix
To avoid unexpected pricing surprises on installation day, review our guide on transparent quotes and pricing standards to evaluate labor, waste factors, and itemized material line items.
6. Coordinating Siding with Gutters and Roofing
For maximum protection and visual appeal, your siding should be integrated with your home's broader exterior water management system.
                      EXTERIOR WATER MANAGEMENT SYSTEM

                       [ Roof Slope & Shingles ]
                                  │
                       [ Drip Edge & Gutters ]
                                  │
  [ Siding Cladding ] ──► [ House Wrap Barrier ] ──► [ Foundation Drainage ]
Gutters and Downspouts
Old, leaking gutters spill water down exterior walls, staining new siding and rotting fascia boards. Replacing aging gutters or adding protective gutter guards ensures water is channeled away from your siding and foundation.
Attic and Soffit Ventilation
During siding installation, installing ventilated soffit panels beneath your eaves ensures continuous fresh air intake into your attic space, preventing moisture buildup and deck rot. To verify whether your home maintains balanced attic airflow, consider scheduling an attic inspection.
7. Key Maintenance Practices for Long-Term Durability
Once your new siding is installed, basic routine maintenance will preserve its finish and weatherproofing performance:
- Annual Wash-Down: Clean vinyl or fiber cement siding once a year using a soft-bristle brush and a mild detergent solution to remove dirt, pollen, and surface mildew. Avoid high-pressure power washing on vinyl, which can force water up through weep holes.
- Inspect Caulk Joints Periodically: Check polyurethane caulk joints around windows, doors, and trim corners every 3 to 5 years, touching up any cracked sealant.
- Maintain Clearance from Landscaping: Keep shrubs, trees, and mulch beds trimmed back at least 6 inches from the bottom edge of your siding to prevent moisture retention and insect access.
Partner with Regional Exterior Specialists
Installing new siding is a transformational investment that shields your home from harsh weather while dramatically boosting curb appeal and resale value. Achieving a watertight, beautiful finish requires certified installation techniques, proper weather barriers, and precise trade coordination.
At The Roof Resource of East TN, we combine high-quality materials, transparent pricing, and experienced craftsmanship across every exterior project. Whether you are replacing worn vinyl, upgrading to fiber cement, or executing a complete exterior overhaul, our team is ready to assist you.
Are you ready to transform your home's exterior protection and curb appeal? Contact our expert team today to schedule a zero-pressure consultation and receive an itemized quote.
More Articles

Questions to Ask a Roofer: 20 Must Ask Items Before Signing Today

How to Compare Roofing Quotes: Apples to Apples Price Guide Today

Drip Edge Installation: Why Code Requires It in Many Areas Today in East TN

Best Roof Sealants for Leaks: Which Products Actually Last Today