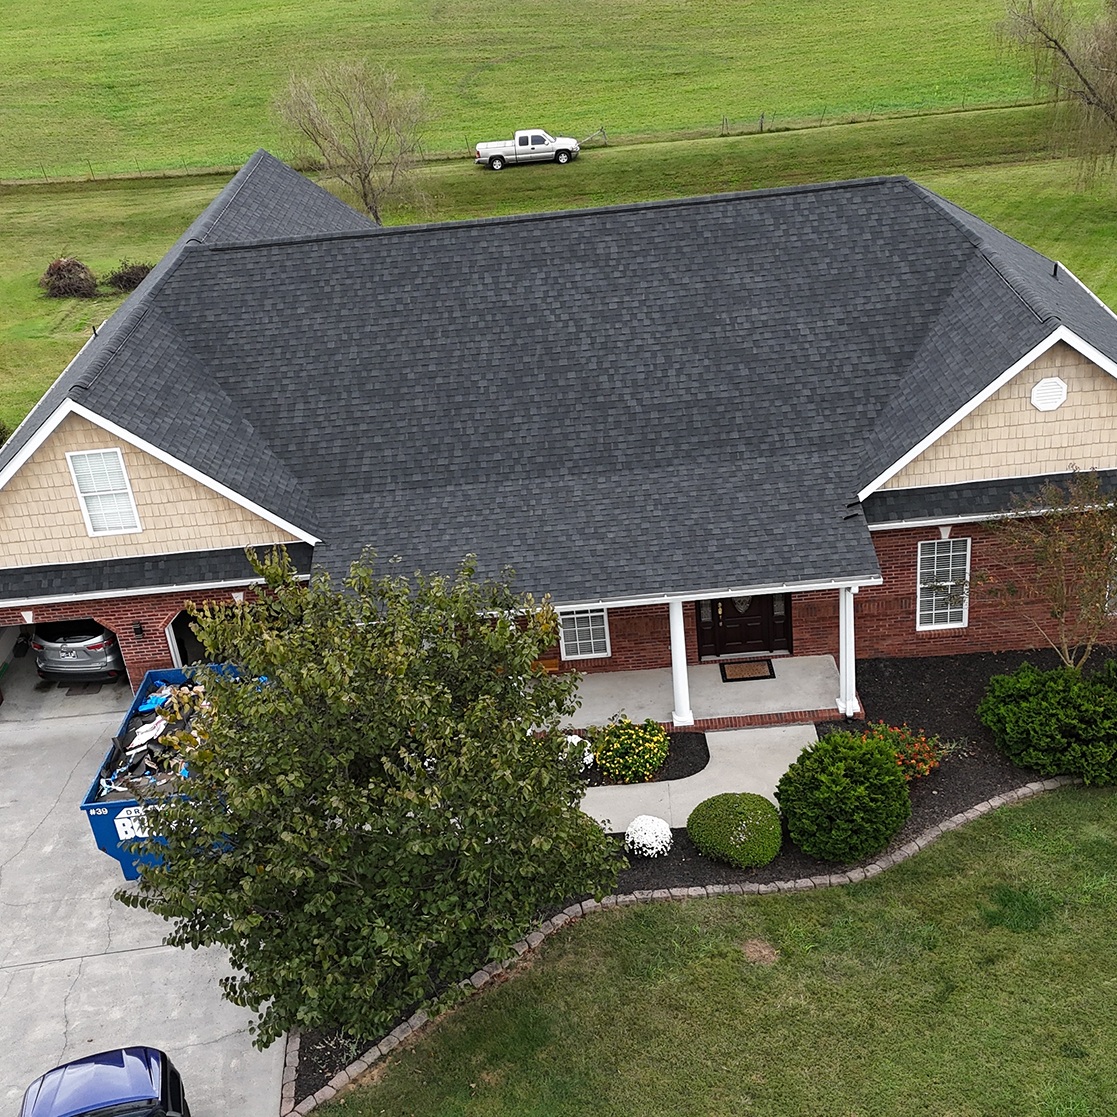
.jpg)
A storm can turn a small roof weakness into a fast-moving emergency. Wind lifts shingles, hail bruises materials, tree limbs puncture the deck, and heavy rain finds every gap around flashing and vents. When water starts coming in, you do not need perfection. You need fast, safe, and effective steps that reduce damage immediately, followed by a clear plan to get permanent repairs done correctly.
This emergency roof repair checklist is designed for homeowners. It focuses on what you can do safely from inside the home and from the ground, what you should avoid, how to temporarily stop leaks, and how to set yourself up for a smooth professional repair afterward.
First rule: safety beats speed
Before anything else, protect people, not property.
Do not climb on the roof during or right after storms
Storm damage often comes with:
- slick shingles
- wet leaves and debris
- loose shingles
- weakened decking
- downed power lines nearby
A fall is far more dangerous than a ceiling stain. Even experienced roofers use harnesses, anchors, and proper footwear. If conditions are wet, windy, or dark, stay off the roof.
Watch for electrical hazards
If water is dripping near:
- light fixtures
- outlets
- ceiling fans
- breaker panels
Shut off power to that area at the breaker if you can do so safely and avoid touching wet surfaces. Water and electricity do not mix.
If the roof structure may be compromised, leave the area
Signs of potential structural danger include:
- sagging ceiling drywall
- popping noises in the attic
- heavy water pooling overhead
- major tree impact
- visible roof collapse or severe bowing
If you suspect the roof deck is unstable, avoid the attic and call for emergency help.
What to do immediately when you notice a roof leak
1) Contain the water fast
- Place buckets, bins, or trash cans under active drips.
- If water is spreading across a ceiling, poke a small hole in the lowest bulging area with a screwdriver to drain it into a bucket. This prevents a wider ceiling collapse and reduces drywall damage.
- Lay towels or plastic sheeting to protect flooring.
Pro tip: Put a towel inside the bucket to reduce splashing and noise.
2) Move valuables and protect furniture
- Move furniture away from the leak area.
- Cover items with plastic drop cloths or contractor bags.
- Pull rugs off wet floors to prevent staining and mold.
3) Reduce interior humidity
If the leak is significant:
- run fans
- run a dehumidifier if you have one
- keep air moving to slow mold growth
4) Document everything
Even if you are not thinking about insurance yet, documentation helps.
- Take photos and videos of the leak
- Photograph ceiling damage and wet areas
- Note the date and time
- Save weather alerts or storm reports if available
Emergency roof repair checklist for homeowners
This checklist is ordered from safest and fastest to more involved actions. Most steps can be done from inside your home or from the ground.
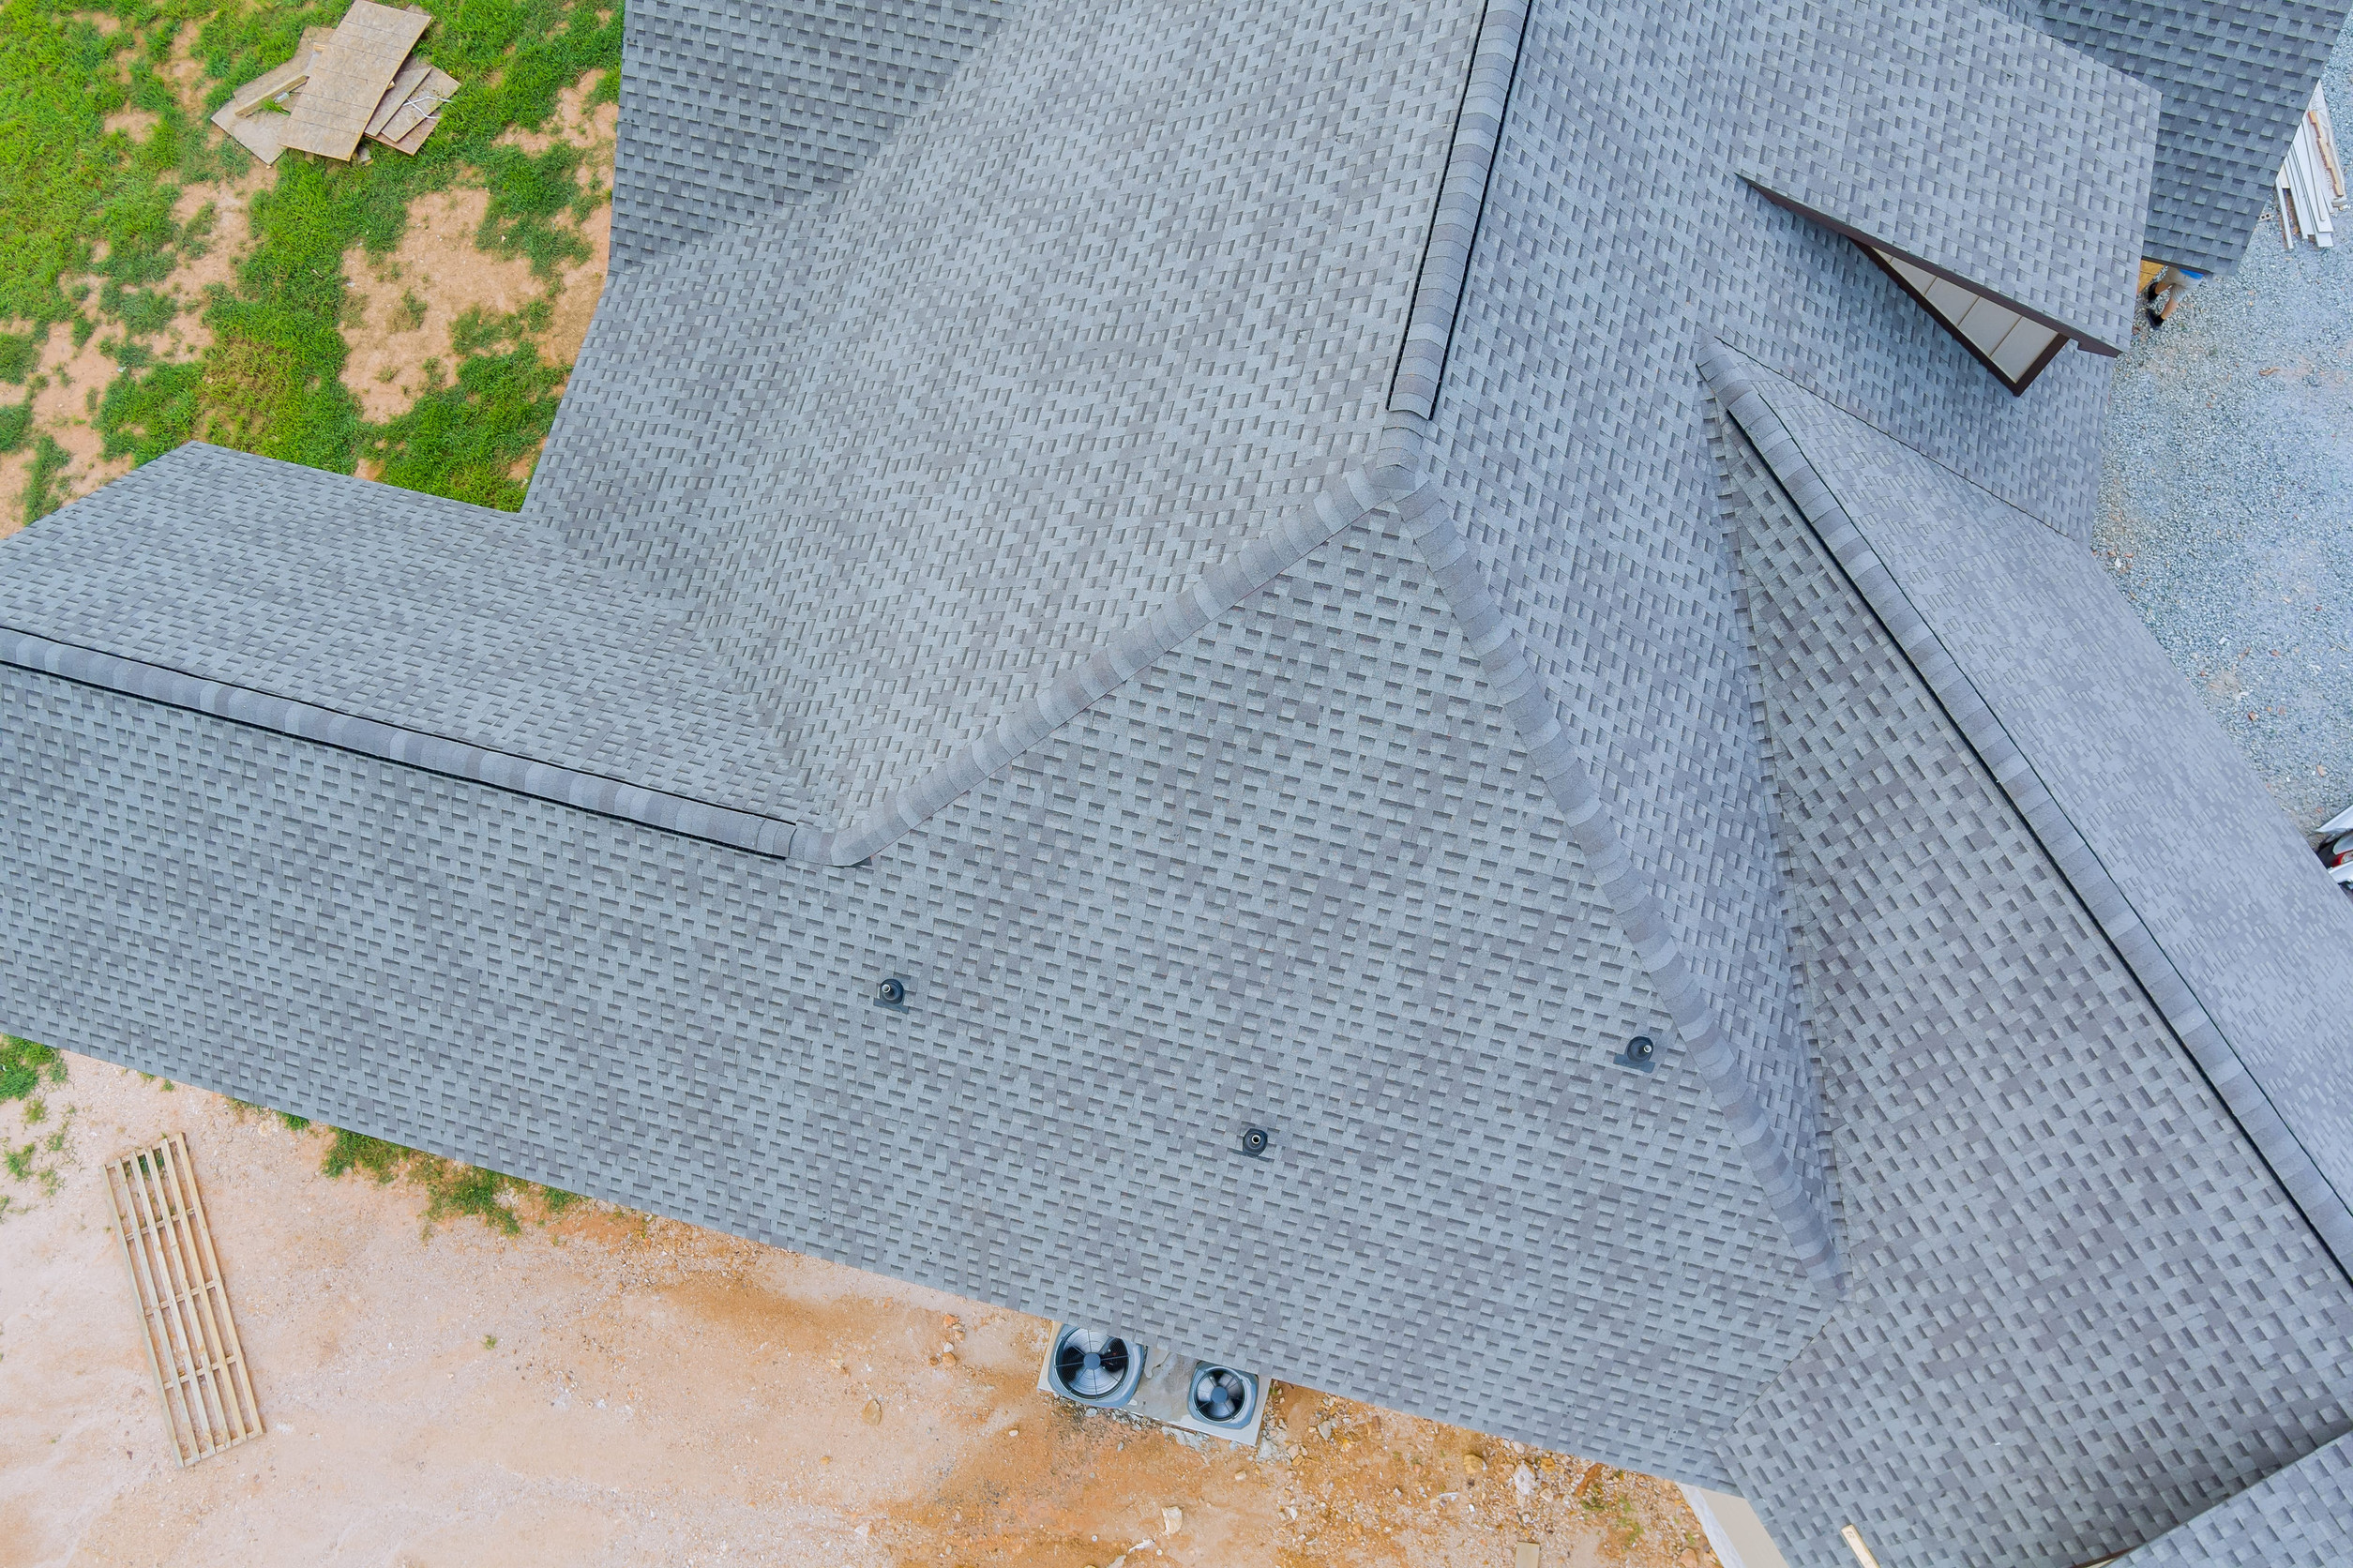
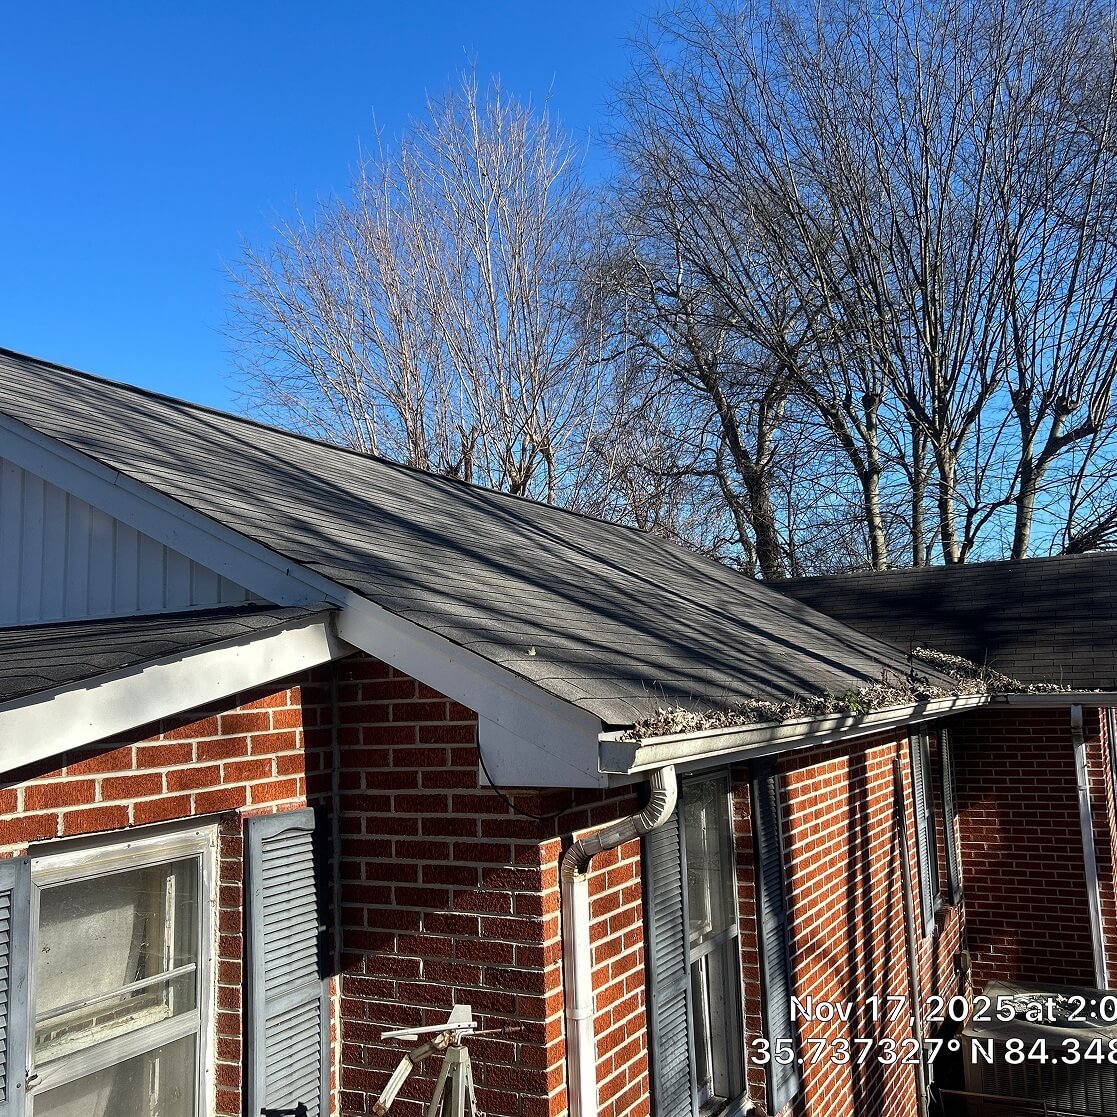
Step A: Quick exterior scan from the ground
Walk your property carefully and look up at the roof from multiple angles.
Look for:
- missing shingles
- lifted shingle tabs flapping in wind
- damaged ridge cap areas
- displaced flashing around chimneys and walls
- punctures from tree limbs
- debris piles in valleys
- gutters overflowing or hanging loose
- obvious dents and damage to vents, skylights, or metal edges
Also check:
- window screens and AC fins for hail impacts
- fence lines for fallen limbs
- the yard for shingle pieces and granules
If you see major damage, skip DIY and call a professional.
Step B: Inspect the attic safely, if conditions allow
Only do this if:
- there is no sign of structural damage
- the attic has safe flooring or stable joists
- you can move safely with a flashlight
- the roof is not actively collapsing
Bring:
- a strong flashlight or headlamp
- a phone for photos
- gloves
- a marker or painter’s tape
What to look for:
- water trails on rafters or decking
- wet insulation
- dripping from nails
- dark stains around penetrations
- light shining through holes
Important: the spot where water shows up inside is often not directly beneath the roof entry point. Water can travel along rafters.
Mark the approximate area with tape or a marker so a roofer can find it quickly.
Step C: Temporary interior leak diversion
If you can see water entering in the attic, you can often slow damage without touching the roof.
Simple diversion method:
- Place a bucket under the drip
- If dripping is running along a rafter, tack a small piece of plastic (like a cut contractor bag) to create a channel that directs water into the bucket
This does not fix the roof, but it can prevent water from spreading across insulation and ceilings.
Temporary exterior leak control options
These can work if the storm has passed, conditions are dry and calm, and you can safely access the area. If not, skip to “Call a professional.”
1) Tarping: the best emergency roof temporary repair
A properly installed tarp is the most effective short-term solution after storm damage.
What you need:
- heavy duty roof tarp (thick, reinforced edges)
- 2x4 lumber strips
- screws or nails
- drill or hammer
- utility knife
Key principles:
- The tarp must extend several feet beyond the damaged area in all directions.
- The upper edge of the tarp should go over the ridge if possible, so water does not run under it.
- Use 2x4s to wrap and secure tarp edges to spread the load and reduce tearing.
- Avoid placing fasteners in the middle of the tarp where water flows.
If you cannot secure it correctly, a tarp can blow off and cause more damage or become a safety hazard.
2) Temporary sealing for small penetrations
If the damage is small and accessible, temporary roofing sealant can help until a roofer arrives.
This is only appropriate when:
- the roof surface is dry
- the leak source is clear
- you are working on a small localized issue such as a small flashing gap or nail hole
Avoid smearing sealant over shingles randomly. This can trap water and make professional repairs harder.
3) Clearing debris from valleys and gutters
Storm debris can block valleys and gutters, forcing water under shingles.
From the ground you can:
- clear downspouts
- remove debris from gutter inlets if reachable safely
- ensure water flows away from the foundation
Do not lean ladders onto damaged gutters. Use stable ladder placement and have a spotter.
What not to do during emergency roof repair
Do not use a pressure washer on the roof
It can strip granules, drive water under shingles, and make the problem worse.
Do not nail loose shingles down without understanding why they lifted
Improper fastening can create leak paths and void warranties.
Do not walk on a roof that may be damaged
Storm damage can weaken decking. Even if it “looks okay,” it may not be.
Do not rely on buckets alone
Containing water helps, but it does not stop ongoing damage inside insulation and framing. Use diversion and drying steps too.
Do not ignore small leaks
A “minor drip” can saturate insulation and create mold quickly, especially in warm, humid conditions.
Storm specific checklist by damage type
Wind damage
Common signs:
- missing shingles
- lifted or creased shingle tabs
- ridge cap displacement
- exposed underlayment
What you can do:
- photograph missing areas
- tarp if safe and necessary
- schedule repairs quickly because wind damaged shingles can fail again in the next storm
Hail damage
Common signs:
- dents on vents and gutters
- granules at downspouts
- bruised shingles
- cracked tiles
What you can do:
- document collateral damage
- schedule inspection even if you do not see leaks
- avoid unnecessary DIY repairs that might complicate documentation
Tree impact damage
Common signs:
- punctures, broken decking
- crushed sections
- exposed attic
- flashing ripped apart
What you can do:
- do not enter attic if structure is compromised
- cover interior with plastic and buckets
- call emergency services if power lines are involved
- get professional emergency tarping and structural evaluation
Heavy rain and flooding issues
Common signs:
- leak appears near walls or chimneys
- water stains along ceilings
- gutters overflow and water backs up
What you can do:
- check for clogged gutters and downspouts
- verify downspout discharge away from foundation
- inspect attic for water trails
Emergency supplies homeowners should keep on hand
If your region sees frequent storms, keeping a small emergency kit can save hours of stress.
Recommended items:
- heavy duty contractor trash bags
- plastic sheeting or drop cloths
- painter’s tape
- buckets and towels
- a headlamp or flashlight
- a basic tool kit
- dehumidifier or box fan
- wet dry vacuum if you have one
- roof tarp and 2x4s if you are comfortable with safe tarping
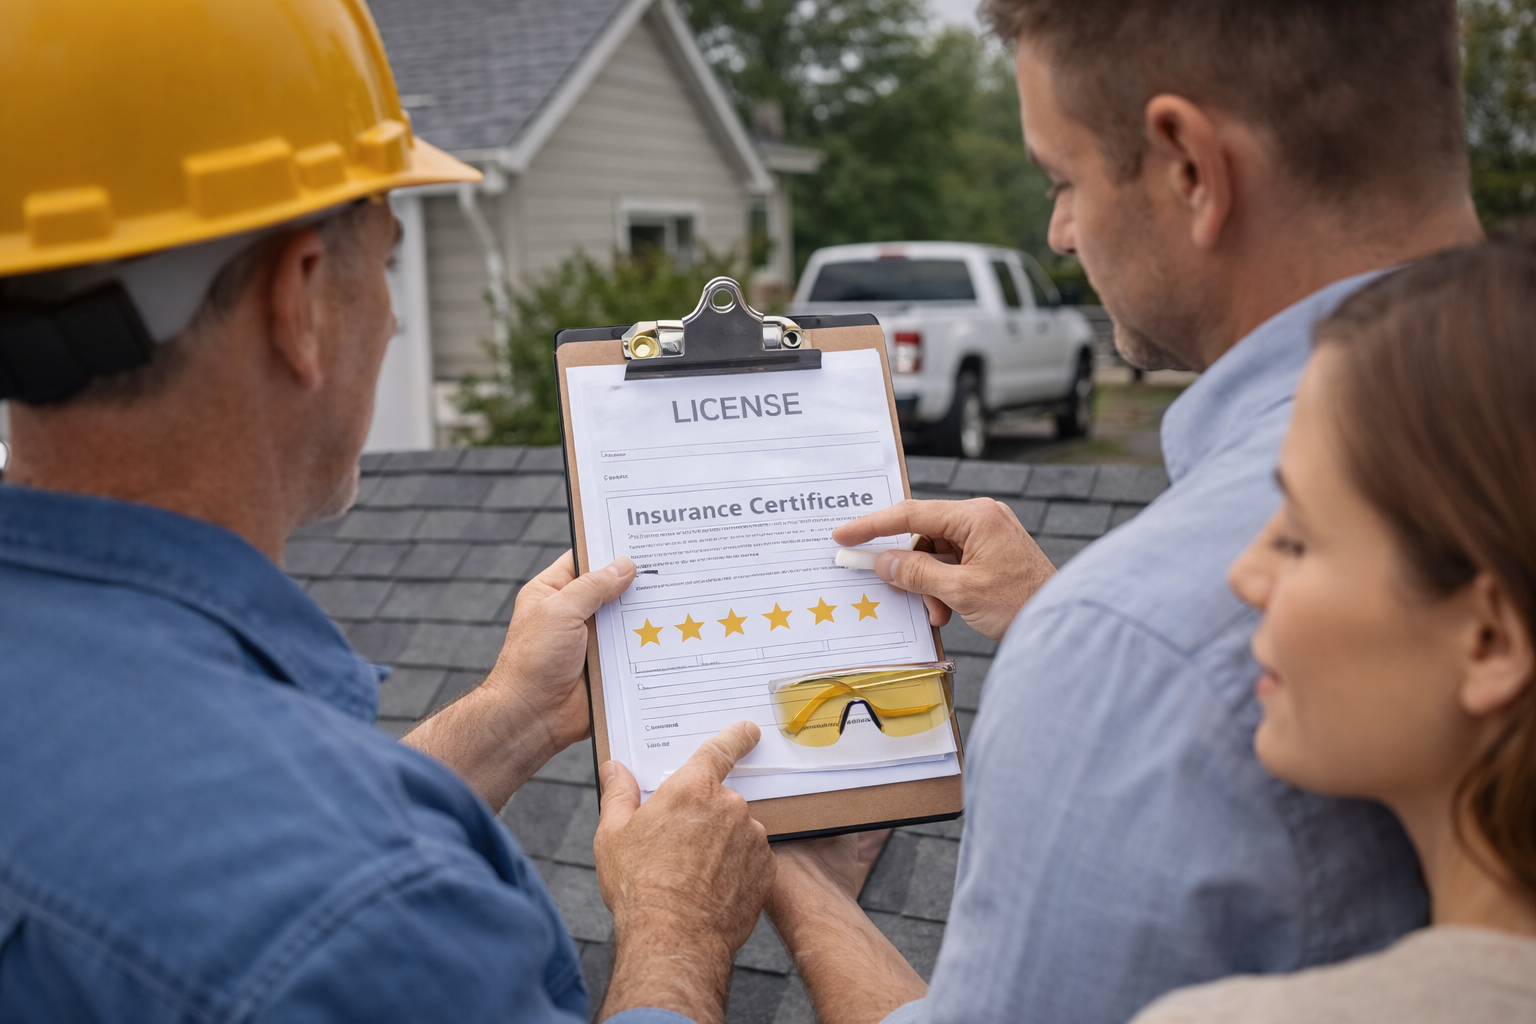
How to choose the right emergency roofer
After a big storm, roofing companies get overwhelmed, and storm chasers show up. You want speed, but you also want the job done right.
Look for:
- proof of licensing and insurance
- a clear written scope
- documented photos of damage
- transparent pricing and repair options
- warranty details in writing
- local presence and reviews
Red flags:
- pressure to sign immediately
- vague “we will handle everything” promises without documentation
- refusal to provide insurance info
- requests for large cash payments up front
- no written scope or contract
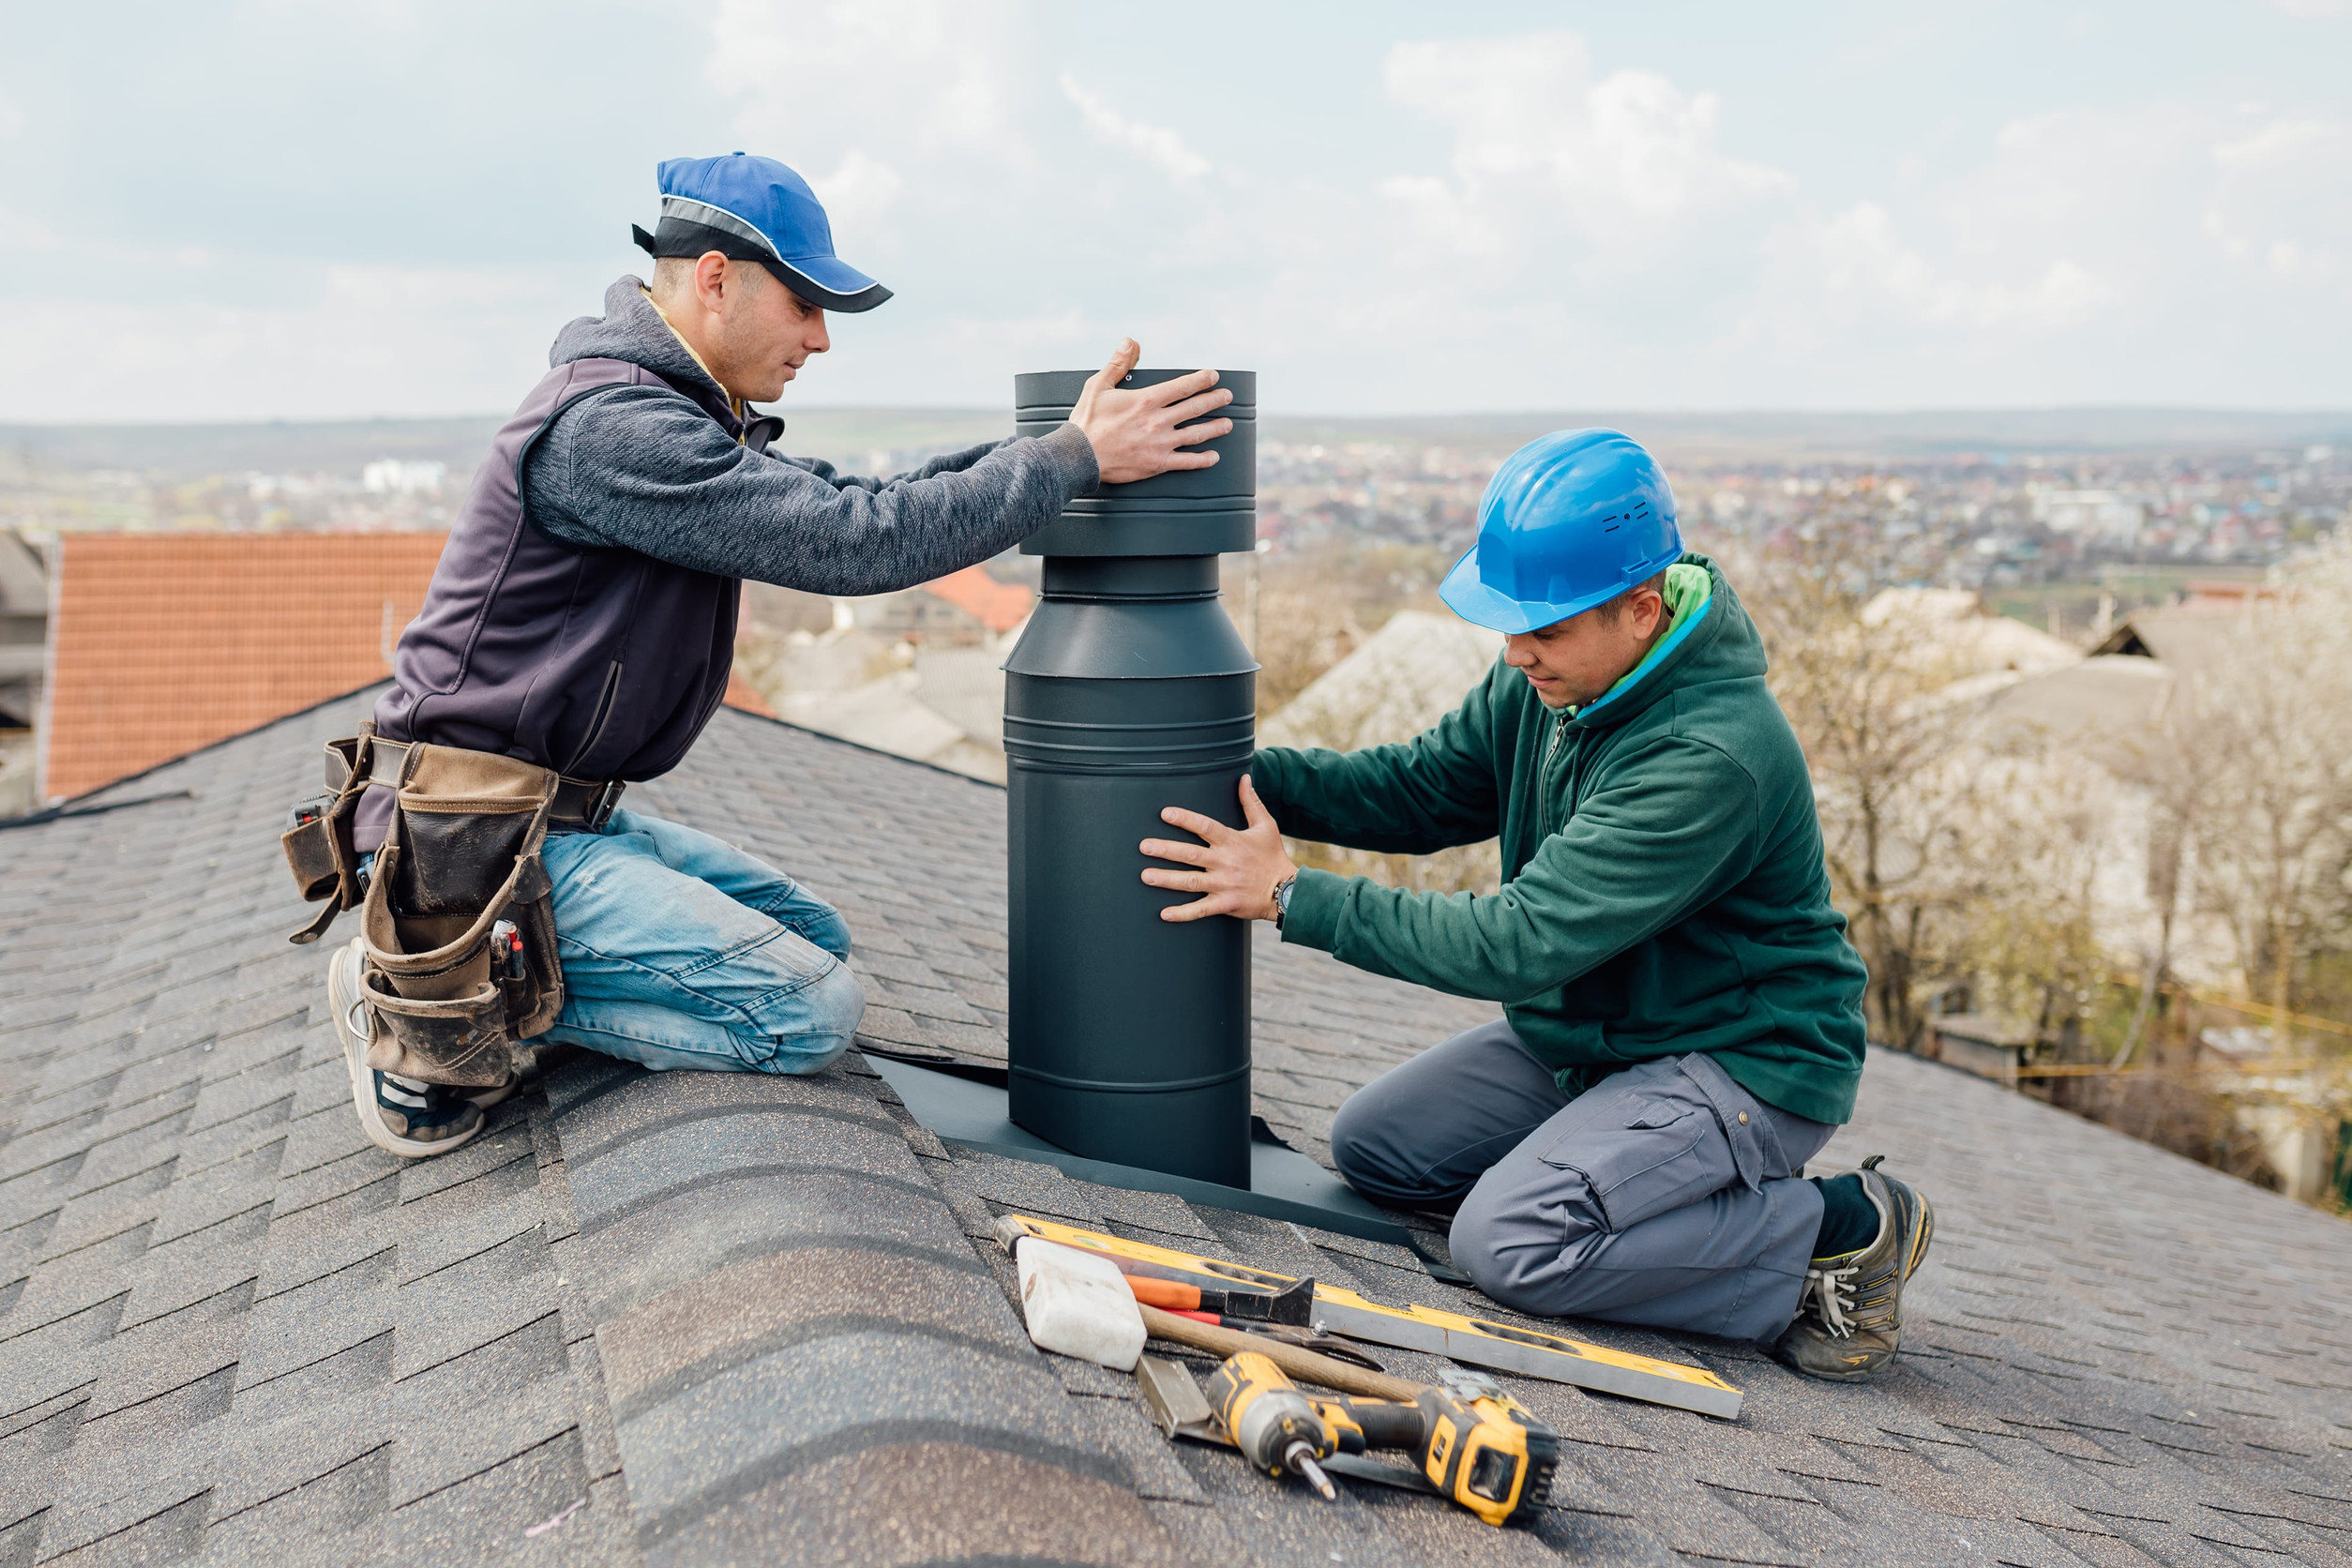
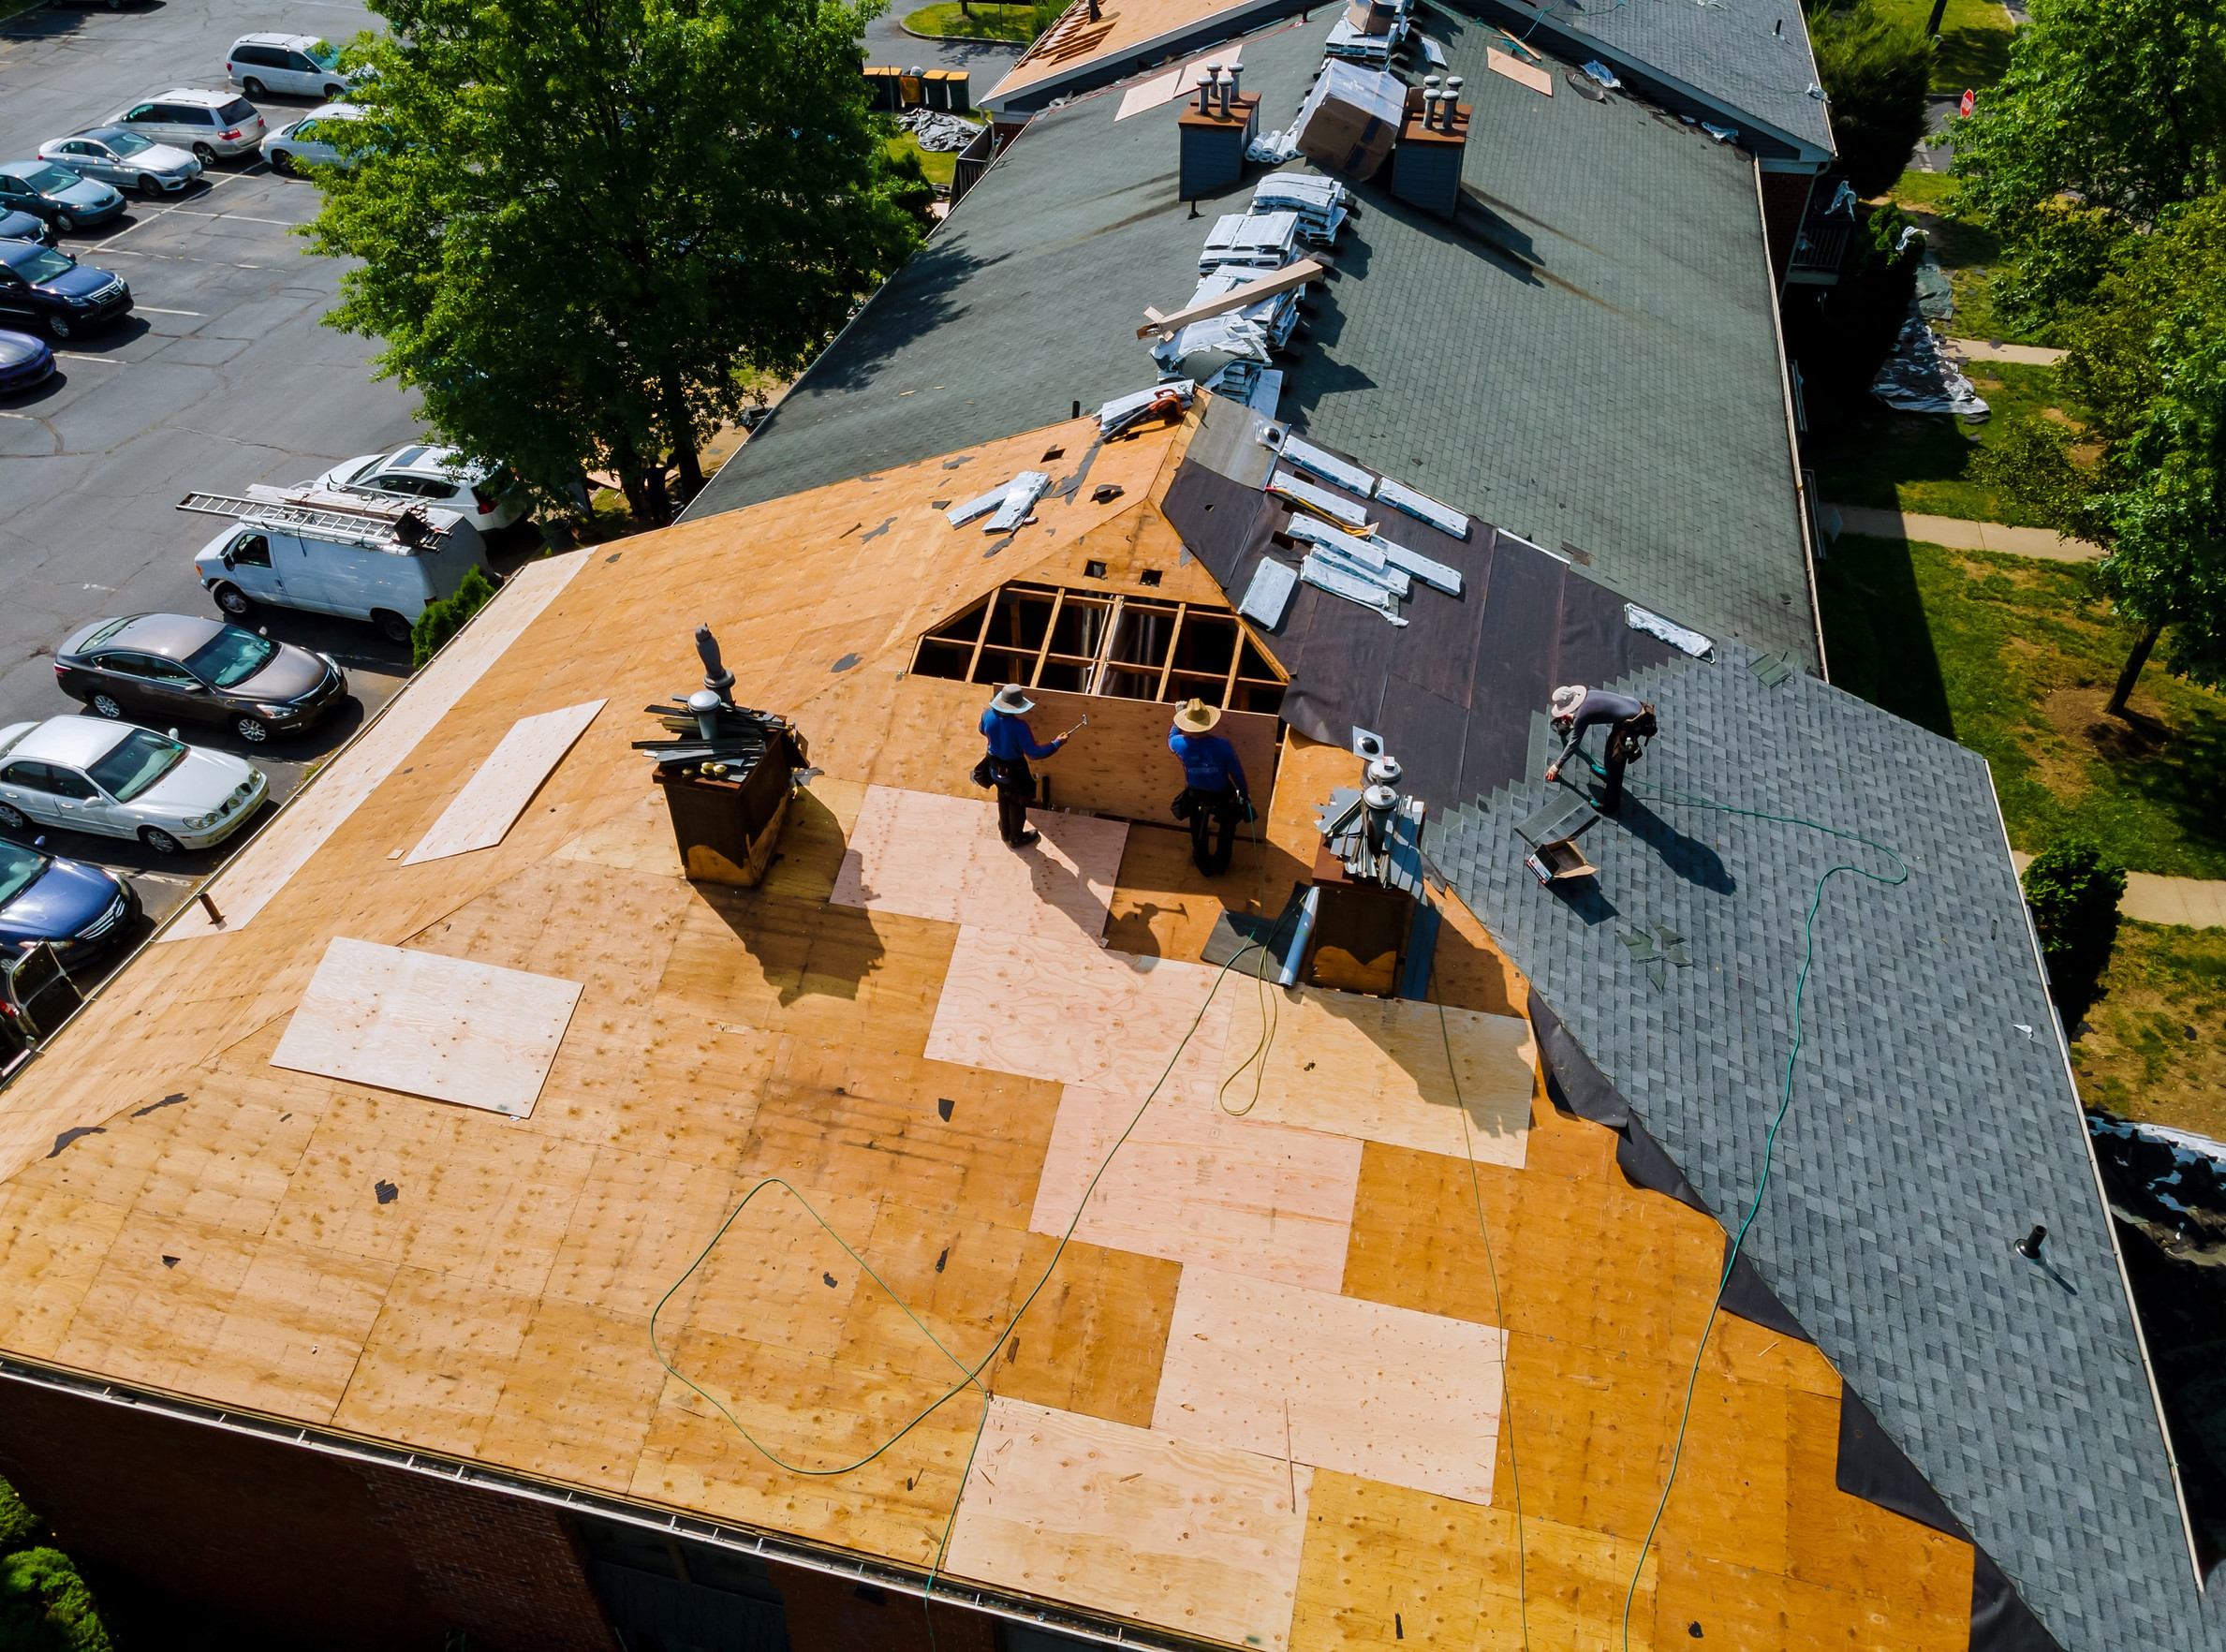
What a proper emergency roof repair process looks like
A good emergency response usually follows this sequence:
- Stop active water intrusion
- tarping or temporary waterproofing
- interior leak diversion and containment
- Assess the roof system
- identify damage scope
- check flashing, vents, ridge, valleys
- inspect attic and decking if needed
- Make permanent repairs
- replace damaged shingles or panels
- repair flashing and penetrations properly
- confirm ventilation and underlayment details
- Verify performance
- ensure sealed areas are watertight
- confirm water flow and drainage
- check for interior moisture drying progress
Emergency roof repair cost: what to expect
Emergency roof repair pricing depends on:
- how fast you need response
- roof height and pitch
- degree of damage
- whether tarping is required
- material type and complexity
Common ranges:
- Emergency service call and minor repairs: a few hundred to around $1,500
- Tarping a roof section: often several hundred to a few thousand depending on size and complexity
- Moderate storm repairs: $1,500 to $5,000+
- Major repairs or partial reroof: $5,000 to $15,000+
- Full replacement after severe storm damage: varies widely based on home size, roof type, and scope
The most expensive emergency is the one that is ignored. Even a slow leak can cause:
- insulation saturation
- drywall collapse
- mold growth
- damaged framing
- ruined flooring
- electrical hazards
After the leak stops: drying and prevention checklist
Once water is contained and the roof is temporarily protected, focus on drying and preventing secondary damage.
Drying steps
- remove wet insulation if it is saturated
- run fans and dehumidifiers continuously for several days
- open attic access if safe to increase airflow
- monitor for musty odors or discoloration
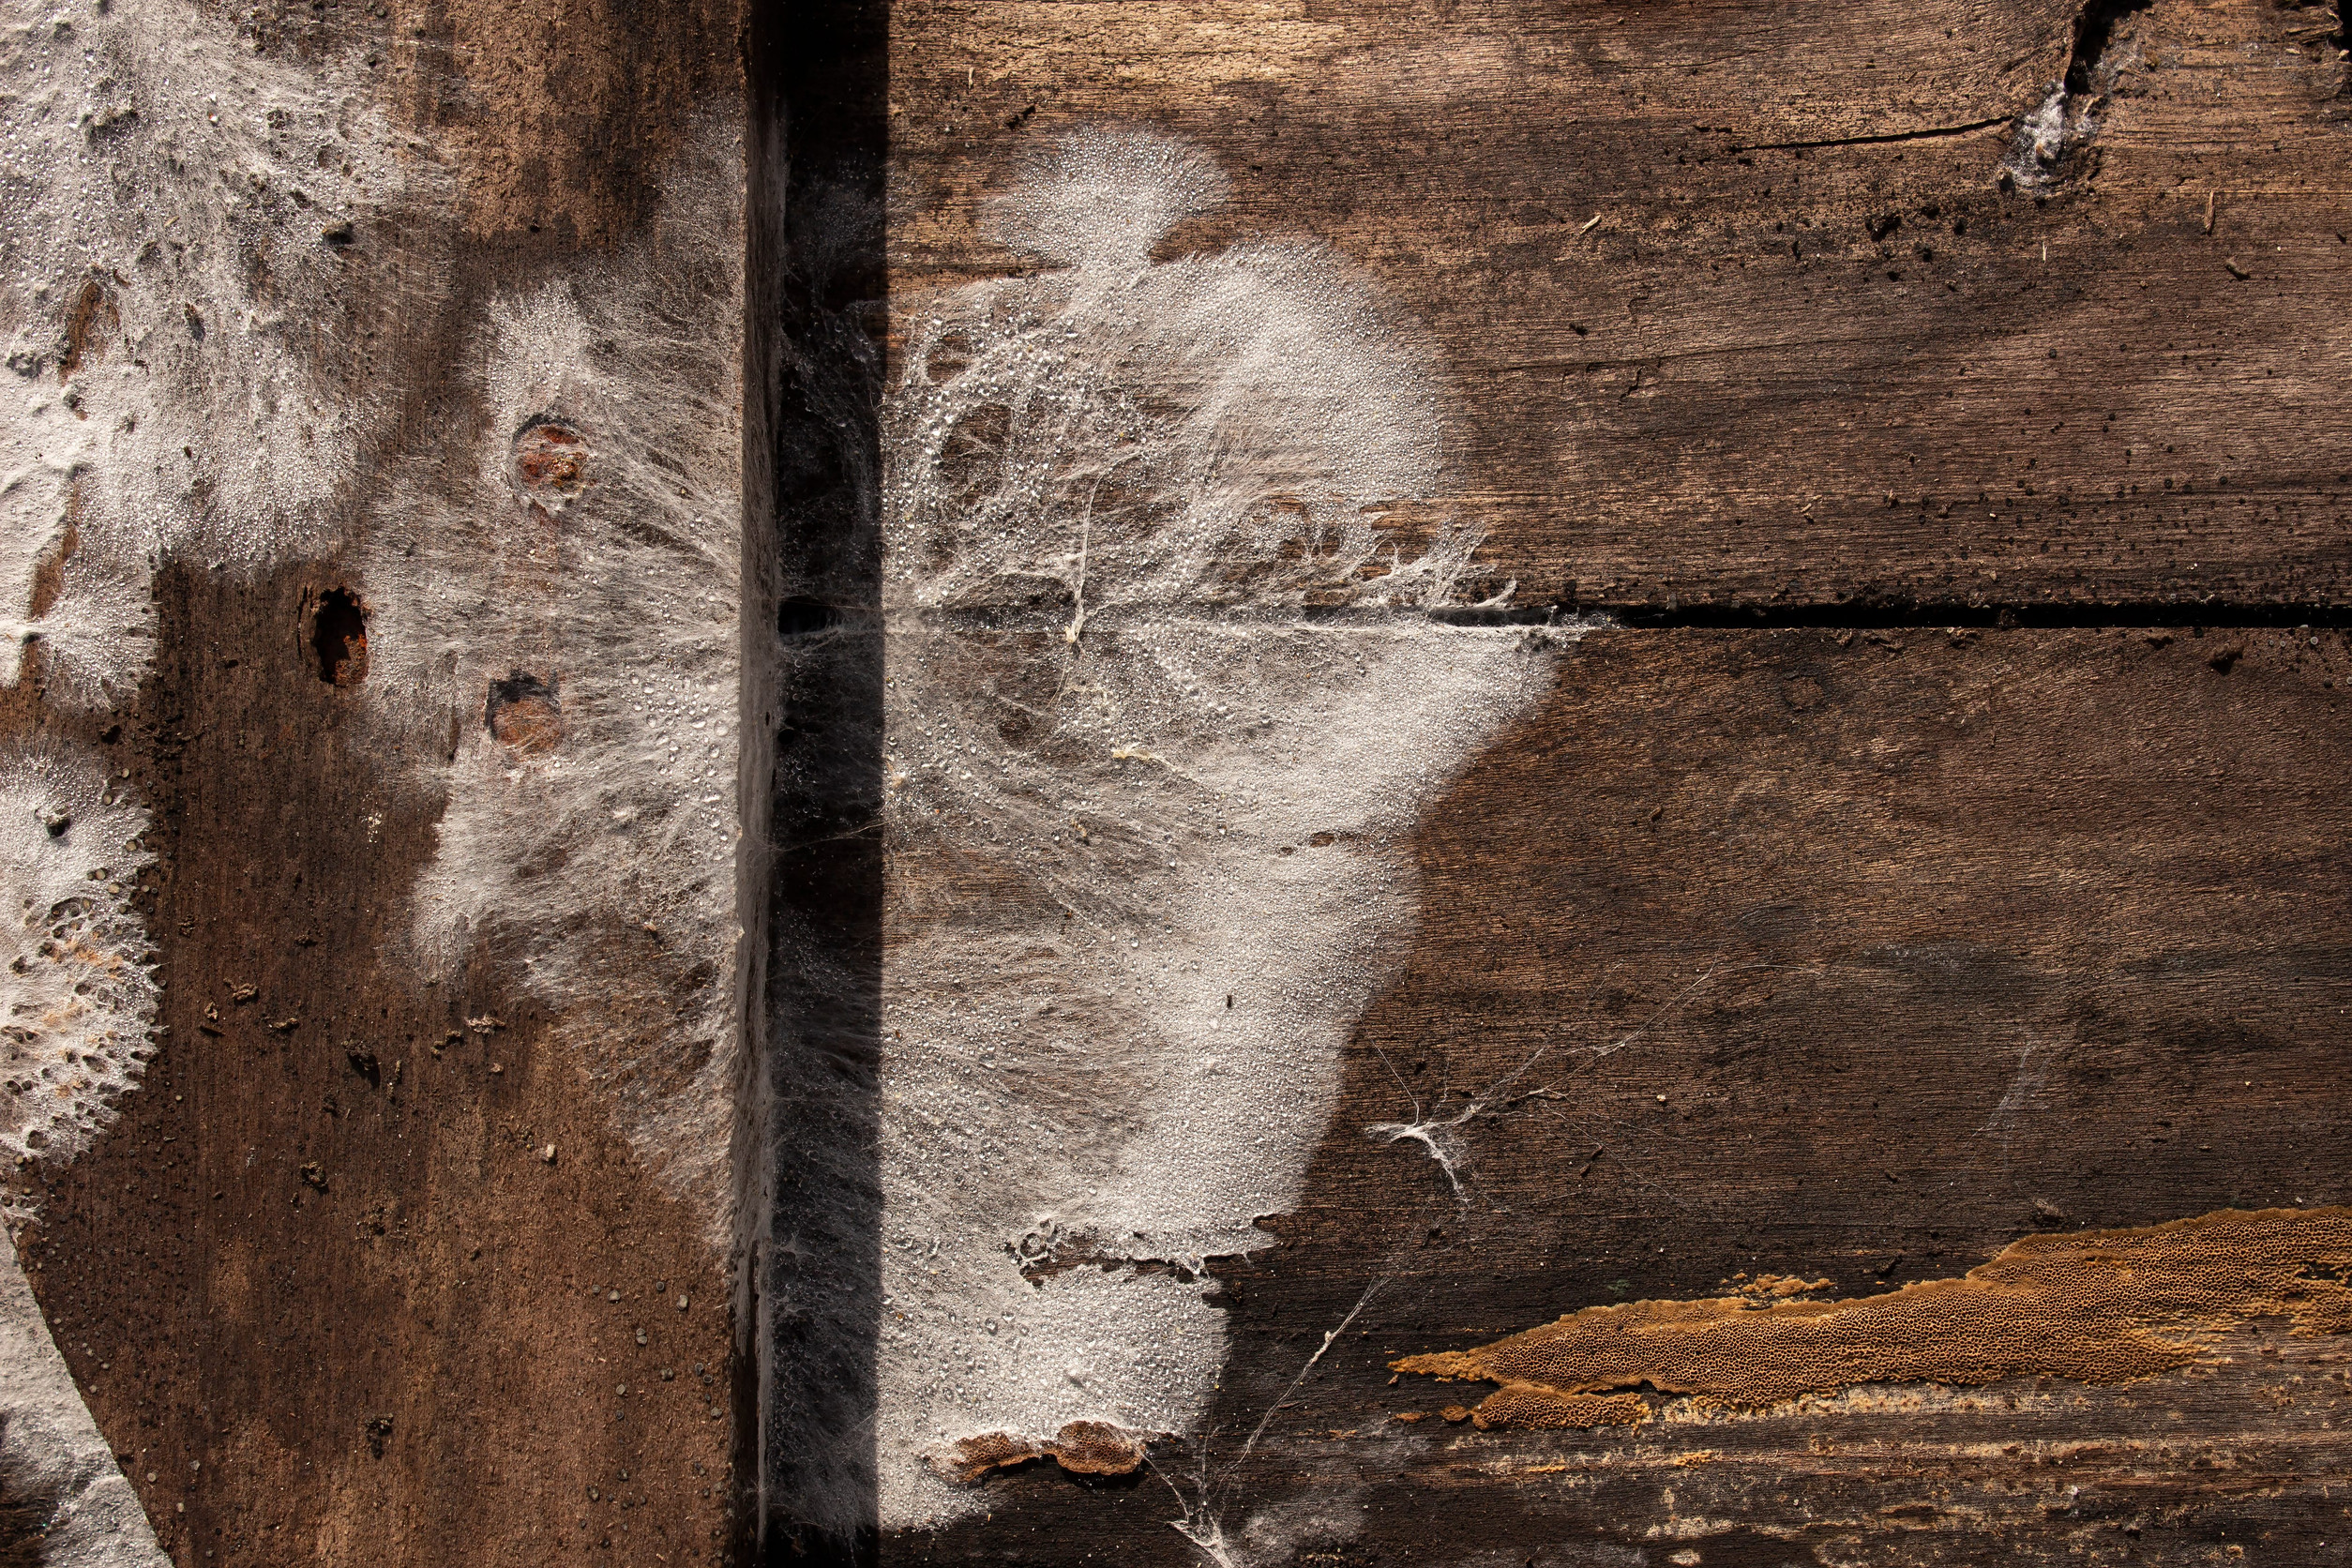
Watch for mold
Mold can start quickly in warm, humid conditions. If insulation and drywall stayed wet, you may need professional remediation.
Plan the permanent fix quickly
Temporary repairs are not meant to last forever. Schedule the permanent repair as soon as practical, especially before the next weather system arrives.
A simple emergency roof leak action plan
If you want the shortest version of this checklist, follow this:
- Keep everyone safe and avoid roof access in unsafe conditions
- Contain interior water with buckets and controlled drainage
- Protect valuables and reduce humidity
- Document damage with photos and video
- Scan roof from the ground for missing shingles and debris
- Inspect attic carefully if safe and mark leak area
- Use temporary diversion to keep water in a bucket
- If safe, tarp the damaged area correctly or call a pro to tarp
- Schedule permanent repairs and confirm flashing and ventilation
- Dry the interior thoroughly to prevent mold
Final thoughts
Storm leaks are stressful, but the right steps make a huge difference. The goal is not to “fix” the roof in the middle of an emergency. The goal is to stop water fast, keep the home safe, document everything, and set up a permanent repair that restores your roof system correctly.
If you want, tell me what kind of storm you get most often in your area, and your roof type, and I can tailor this checklist into a one page downloadable version that works well as a lead magnet for your landing pages.
More Articles
Mold in the Attic: Causes, Health Risks, and Fixes That Work

Attic Insulation and Roof Life: How Heat Shortens Shingles Today
Ice Dam Prevention Tips: Venting, Insulation, and Roof Care Today
Roof Vent Pipe Boot Repair: Fix Cracks Before Leaks Start Today

Best Roof Colors for Curb Appeal | Heat, Style, and Resale in 2026
Does a New Roof Add Home Value: ROI, Appraisal, and Resale Today

Repair or Replace Your Roof: A Cost Based Decision Guide Today
How to Avoid Roofing Scams: Door Knockers and Bad Contracts Today
Roof Replacement Permits: When You Need One and What It Costs

Best Time of Year to Replace a Roof: Weather and Price Tips Today

Roof Replacement Timeline: How Long a New Roof Really Takes Today
Transparent Roofing Pricing | What a Fair Quote Should Include

How to Read a Roofing Estimate: Line Items You Must Compare Today

New Roof Financing Options: Rates, Terms, and How to Qualify

Roof Warranty Guide: Manufacturer vs Workmanship Coverage Today
Roofing Company Checklist: Licenses, Insurance, and Reviews
Emergency Roof Repair Checklist: Stop Leaks Fast After Storms
Hail Damage Roof Repair: Signs to Spot and What It Will Cost